
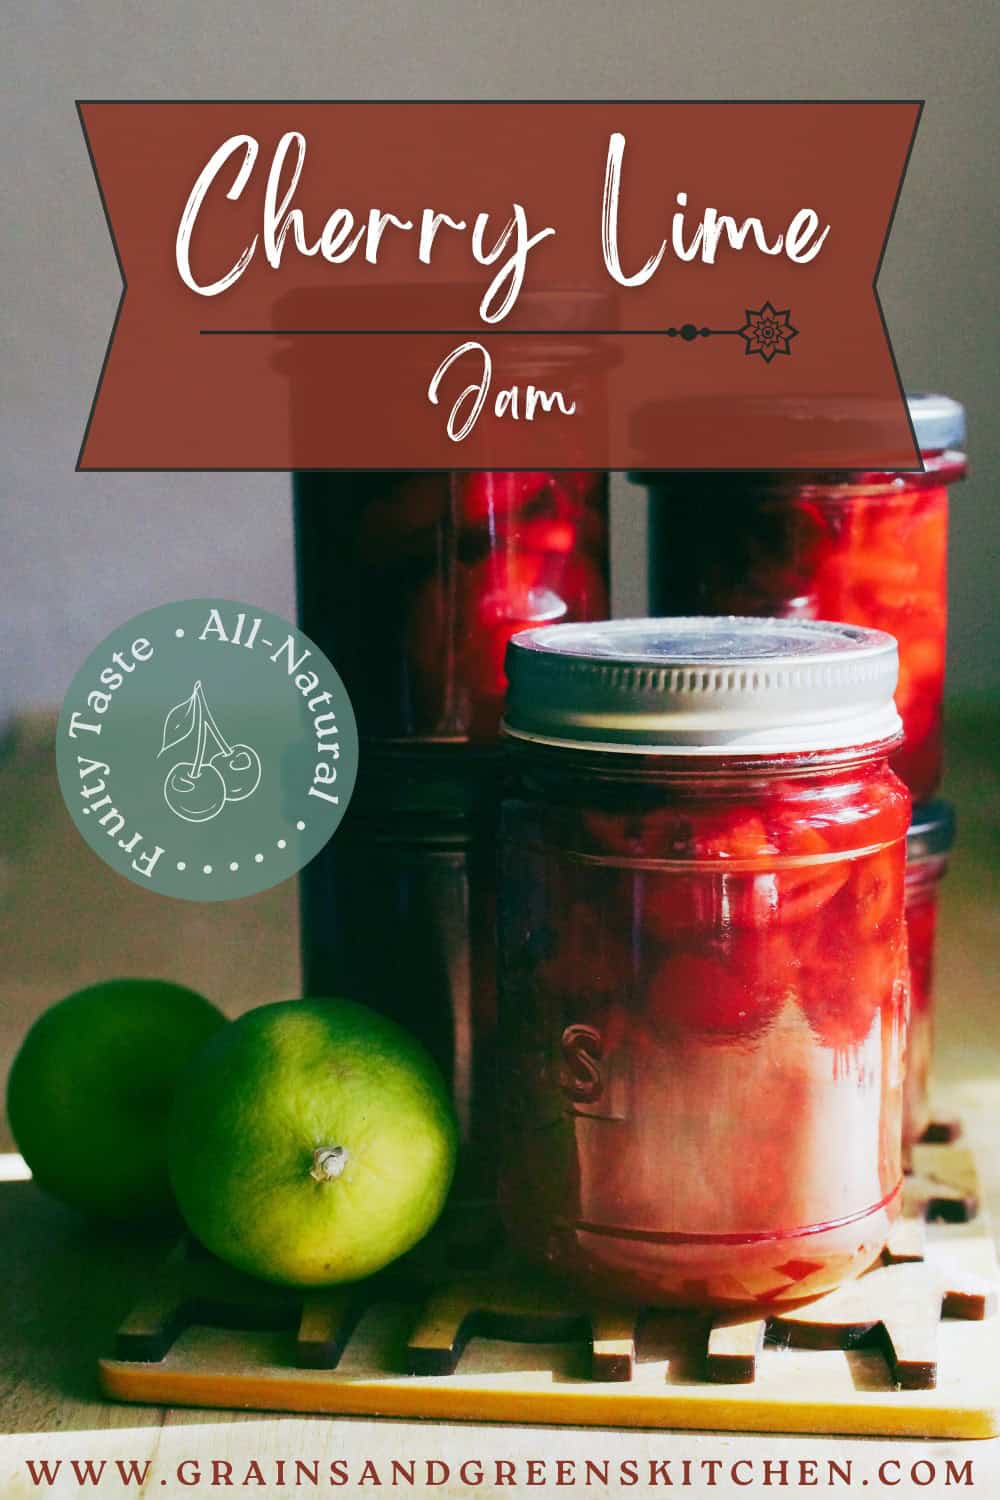
Easy Homemade Cherry Lime Jam
Easy homemade cherry lime jam with just four ingredients — Bright, fruity and just sweet enough! It’s quick to make with no water bath canning needed.


Turning ripe fruit into jam is by far my favorite way to preserve the best of any season. Even if you don’t have your own fruit trees (yet), there is no better way to use up all the ripe fruit of summer than preserving some for less abundant months ahead.
I usually add a lemon to whatever fruit I’m turning into jam. But as luck would have it, I had just randomly bought some limes the day that a friend with an overflowing cherry tree called and more or less begged me to take a bucket of cherries off his hands. It made sense. I didn’t really second-guess it. And in all honesty, it turned out so much better than I expected!
Why You’ll Love This Cherry Lime Jam Recipe
How We Make Jam in the Grains & Greens Kitchen
Cooking jam can be easy—no water baths or pressure canning equipment needed. All you need is clean, sterilized jars (easier than you think!), sugar, a little powdered apple pectin and, of course, a lot of (over)ripe, quality fruit, begging to be rescued before it’s too late. It’s a noble call to answer.
While water bath canning is the way to go to long-preserve jam, hot filling (filling boiling-hot jam into hot, sterilized jars) is standard practise in Europe to preserve jam for at least 6-12 months. And honestly? That’s as long as I’ve ever wanted to keep jam anyway. We enjoy fresh fruit while the season lasts and only preserve small batches to get us through the darker months.
I know “no-pectin” recipes are trending, but it’s an ingredient I really love for making jam. I’m on team low-sugar when it comes to jam, as I prefer a fruity taste over anything candy-like.
Pectin is naturally present in many fruits and naturally forms a gel when combined with sugar, acid and heat. It’s the best way to get a well-set jam, that does not require large amounts of sugar or long cooking times. Three minutes at a rolling boil is all it takes.
Adding acidic lime or lemon juice helps activating the pectin (both powdered and from the fruit itself). The result is a jam that sets beautifully every time.
Tools You May Need
Cherry Pitter (optional) Makes pitting cherries a lot easier
Large Pot Boiling jam bubbles and foams a lot, so leave enough room to spare
Roasting Tray (optional) For sterilizing jars in the oven
Metal Funnel, Ladle, etc. (optional) Choose metal utensils if sterilizing in the oven
Half-Pint (240 ml) Jars 4-6 jars with twist-off or two-part lids
Ingredient Notes and Substitutions
Powdered Apple Pectin Powdered apple pectin is a great pantry staple. It’s inexpensive, lasts forever and saves you from having to rely on store-bought preserving sugar. Just make sure it’s pure pectin, no additives or preservatives. I hope you’ll give it a try!
Sugar Any granulated sugar you have on hand will work. I buy raw cane sugar in bulk and us it for everything in my kitchen.
Lime Choose unwaxed fruit, organic if you can, since the magic lies in the grated peel and you don’t want to add any nasties to your jam.
(Over)ripe Cherries Pick over diligently: toss any moldy cherries or ones with mushy brown spots. Overripe is totally fine. Just choose the cleanest, best-condition fruit you can. The fresher your fruit, the longer your jam will last.
Sterilizing Jars for Preserving
Choose jars with a tight fitting lid. Classic two-piece lids like Mason or Kerr jars work just as well as twist-off lids. Either wash jars and lids with warm, soapy water and rinse well, or run them through the dish washer.
Sterilizing with Boiling Water (great for hot weather) Fill each jar with boiling water straight from the kettle. Let them sit for 1-2 minutes, then carefully pour out the hot water (protect your hands!) and place the jars upside down on a clean kitchen towel or paper towels. Do the same with the lids, and any ladles, spoons, or funnels you’ll use for filling. The goal is to minimize any chance of contamination (even from the air) before the jam is poured into the jars.
Sterilizing in the Oven (my preferred method on cooler days) Place clean jars on a baking sheet or roasting tray, along with any utensils you’ll use to fill them. Loosely cover each jar with its matching lid. Place the tray in the preheated oven at 120°C (250°F) for at least 20 minutes.
I usually pop the jars in the oven while I sort through and prep the fruit. Leave them in the oven until your jam is ready. Be sure to protect your hands when it’s time to fill the jars, as everything will be very hot!
How To Make Easy Homemade Cherry Lime Jam


01
Sterilize Jars:
Make sure your jars are sterilized and ready to go.
02
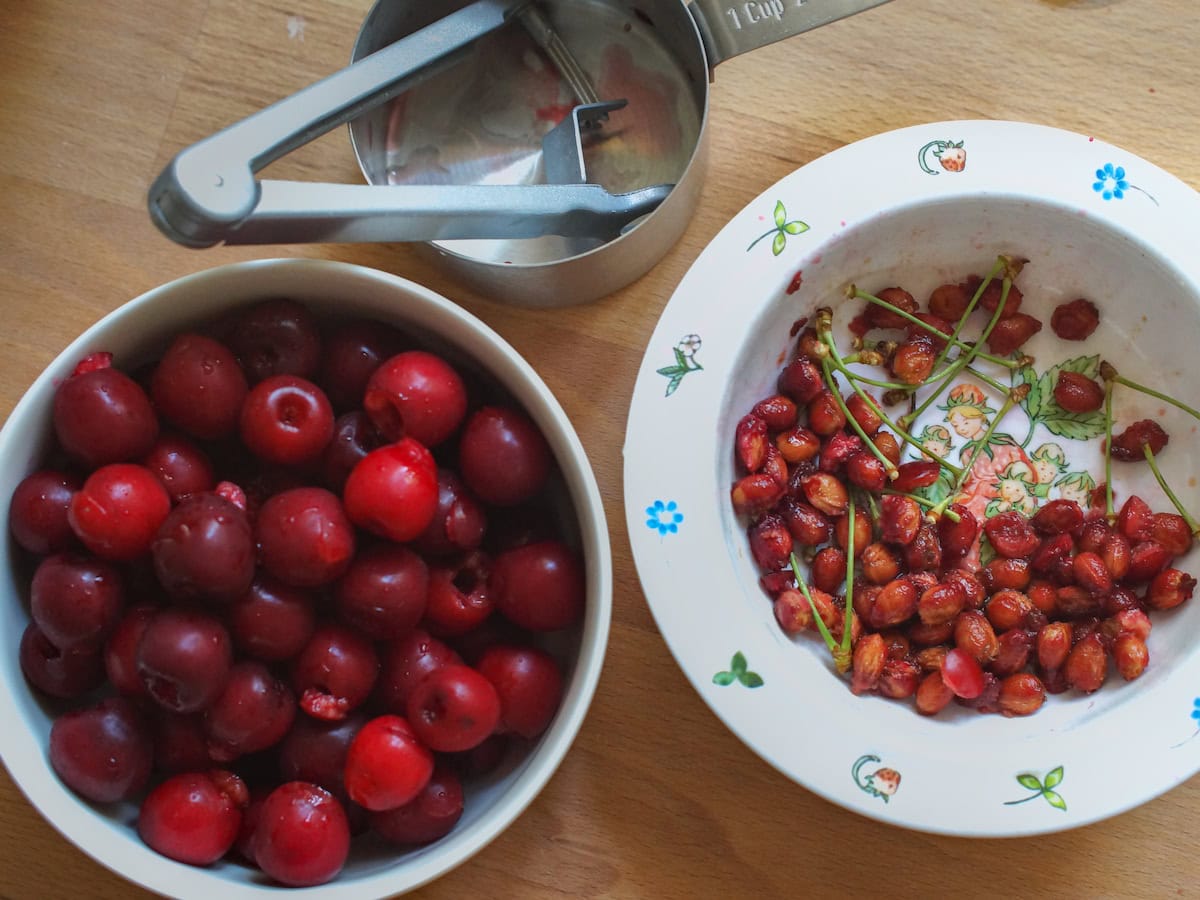
Prep Cherries:
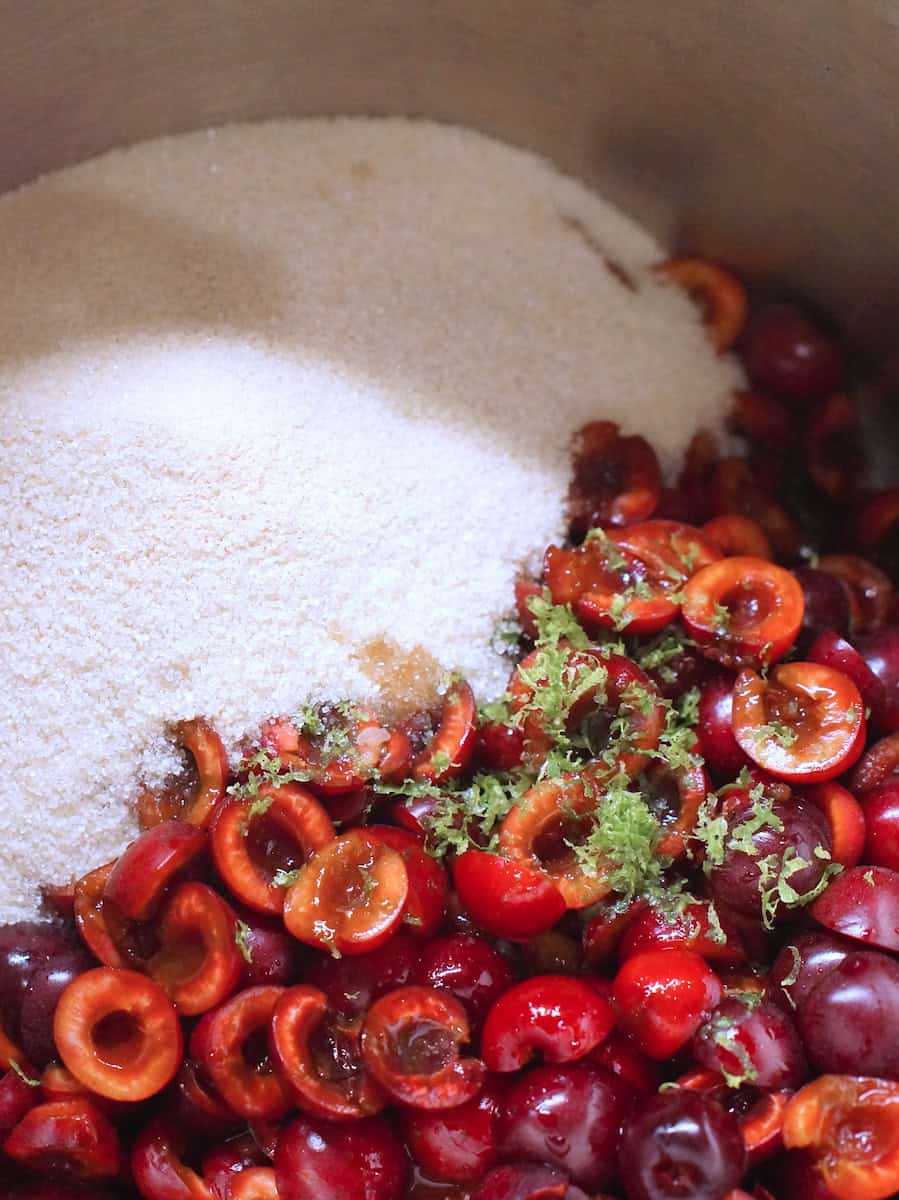
Sort cherries. Use a cherry pitter to remove the stones and cut cherries in half (optional but recommended). Add grated lime zest and lime juice.
03
Prep Sugar:
In a separate bowl, combine sugar and powdered pectin. Mix very well, to avoid clumping later.
04
Cook Jam:
Add all ingredients to a large pot. Bring to a rolling boil. Once it boils and foams, start your timer. Keep at a rolling boil for 3 minutes and stir the entire time.
05
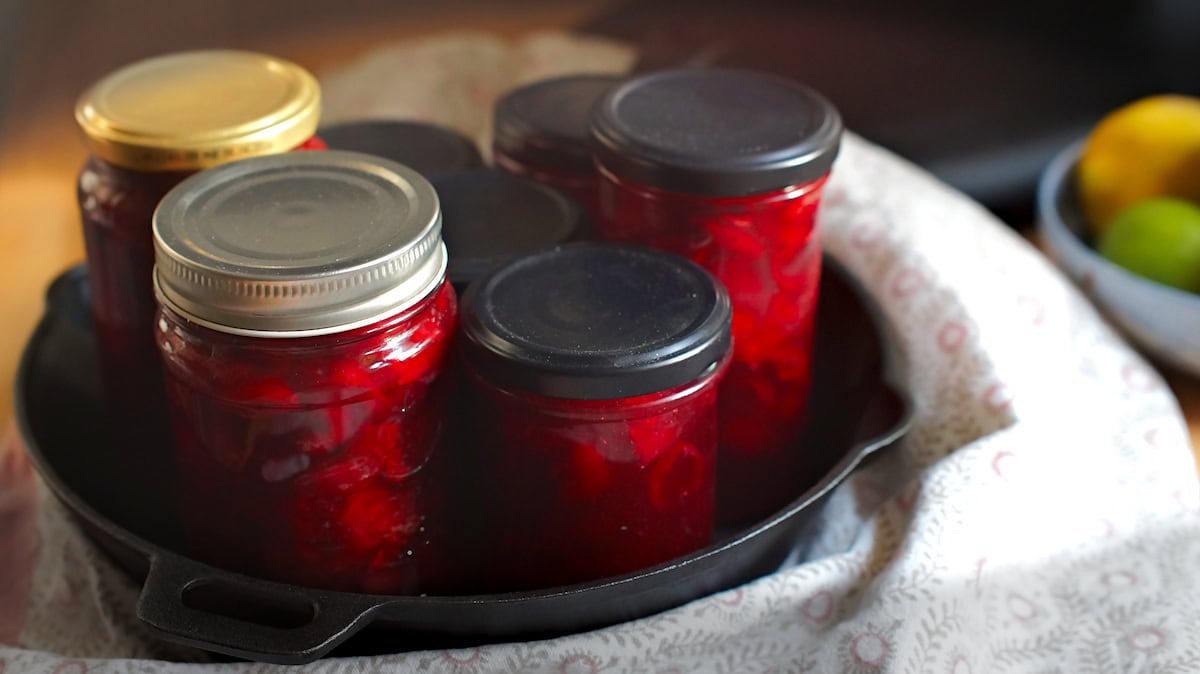
Fill Jam Into Jars:
Spoon the hot jam into prepared jars, leaving ½ cm (¼ inch) headspace. Wipe the rims with a damp paper towel if needed and top the jars with a lid and a lid ring or the matching twist-off lid. Screw lids on tightly. (I like using a metal funnel and ladle to keep the rims clean.)
06
Check the Seal:
Once all the lids are screwed on tightly, turn the jars upside down for 10 minutes, to pasteurize the lids and make sure everything is sealed well. When the time is up, flip them back over and let cool to room temperature. You’ll hear that satisfying little pop as they cool and the lids form a tight seal. That’s the sound of canning success!
Tips for Successful Jam Making
- Keep stirring boiling jam the entire time, so nothing catches on the bottom.
- Chose a larger pot than you think—boiling jam froths and bubbles up a lot!
- If you don’t have a cherry pitter, run a small, sharp knife around each cherry and twist to separate and release the pit.
- Let jars cool down completely before removing any sticky spots on the outsides with a damp cloth.
How to Serve Cherry Lime Jam
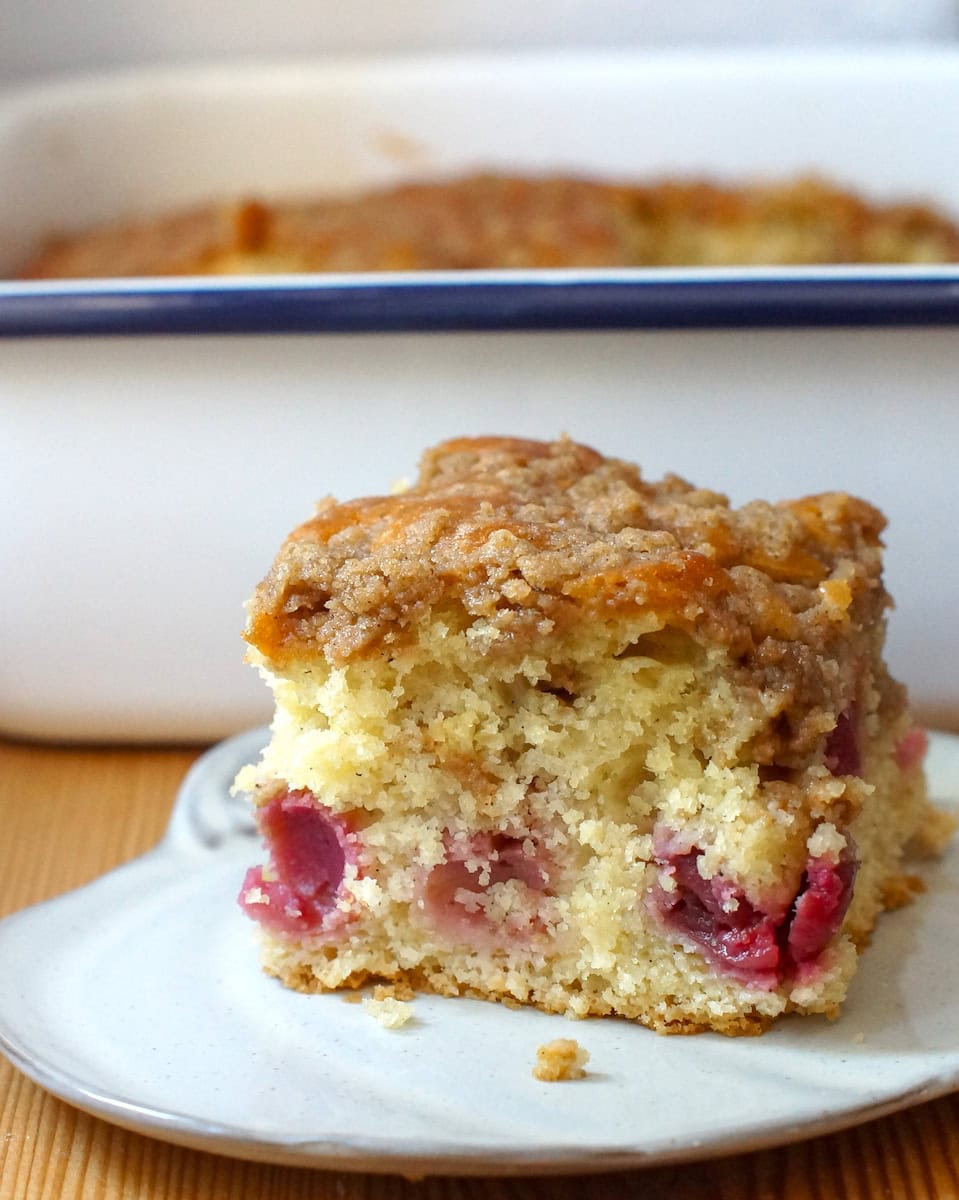
Sweet or savory — homemade cherry jam goes well both ways!
Toast a thick slice of sourdough bread or sourdough sandwich bread for breakfast, spread with butter or peanut butter, and top with cherry lime jam.
It’s also great on soft cheeses, like brie, chèvre, or salty feta.
How to Store Homemade Jam
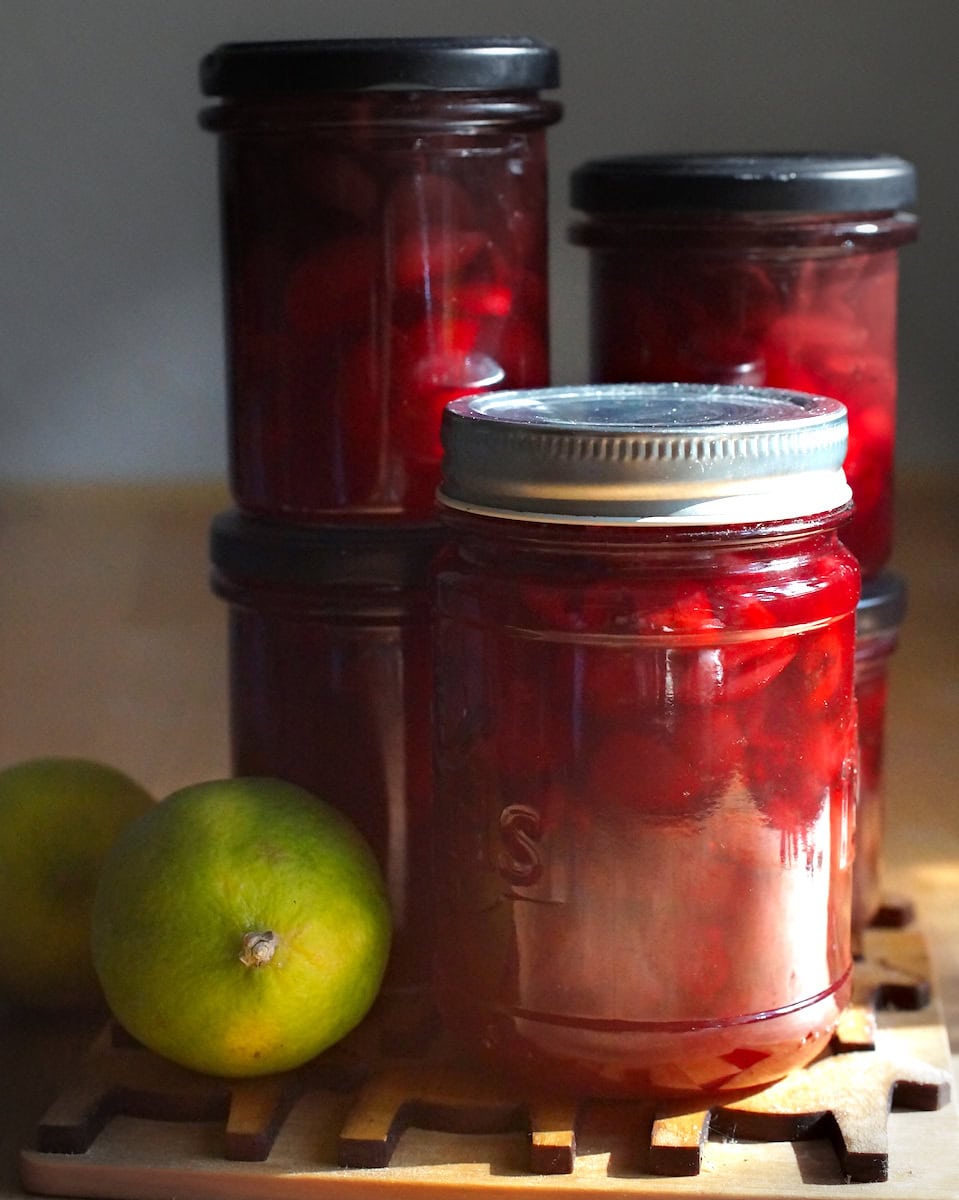
Properly sealed jars can be stored in a dark, cool place for at least 6-12 months.
Unsealed jars should be stored in the fridge and consumed within the next month or two. (You can tell a jar hasn’t sealed, if you can push down on the lid and it pops back up.)
Once opened, keep in the fridge and consume within a month.
Recipe FAQs
If you try this easy homemade Cherry Lime Jam…
I’d love to hear how it turned out! Do you love the fresh taste as much as I do?
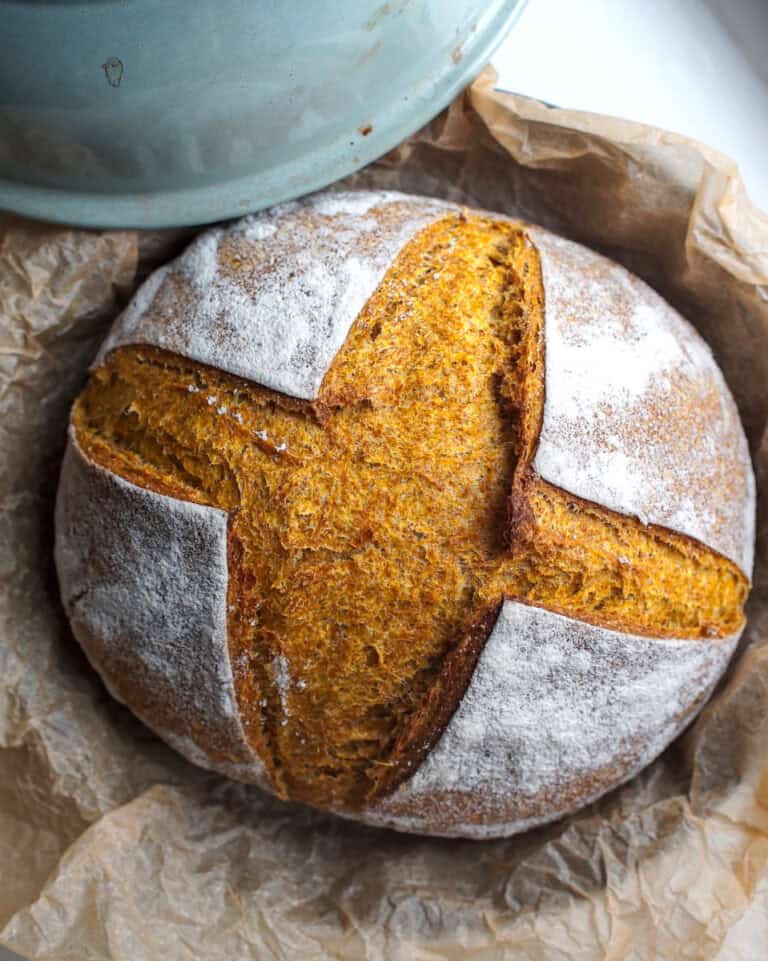
P.S. Looking for a good bread to spread your homemade jam on? Try one of these:
- Easy Soft Wheat and Einkorn Sandwich Bread
- Whole Grain Soft Wheat Sourdough Bread
- German Black Bread Recipe (Schwarzbrot) — great with cream cheese and jam!
Homemade Cherry Lime Jam

Equipment
- cherry pitter - (optional but recommended)
- 4-6 half-pint (240 ml) jars
- roasting tray - (optional, for sterilizing jars)
- metal funnel, ladle, etc. - (optional, choose metal utensils if sterilizing in the oven)
- large pot
Ingredients
- 1 kg pitted cherries - 5 to 6 cups (2.2 lb)
- 500 g sugar - 2½ cups
- 17 g powdered apple pectin
- 1-2 unwaxed limes, zest and juice
Instructions
- Sterilize Jars Clean jars and lids, then sterilize in a 120 °C (250 °F) oven for 20 minutes or fill with boiling water for 2 minutes. Keep hot until use.
- Prep Fruit Pit and halve cherries. Add to a large pot with lime zest and juice.
- Mix Sugar & Pectin In a small bowl, mix sugar and pectin thoroughly to avoid clumping.
- Cook Jam Add sugar-pectin mix to the pot. Bring to a rolling boil and cook for 3 minutes, stirring constantly.
- Fill Jars Ladle hot jam into sterilized jars, leaving ½ cm (¼ inch) headspace. Wipe rims, seal tightly.
- Seal Turn jars upside down for 10 minutes. Flip upright and let cool completely. Store in a cool, dark place.
Notes
- Use a large pot — jam foams up quickly when boiling.
- Keep stirring to prevent scorching.
- No cherry pitter? Use a paring knife to twist and remove pits.
- Storage: Sealed jars keep 6–12 months in a cool, dark place. Refrigerate unsealed jars and consume within 1–2 months.
- Once opened, keep in the fridge and use within 1 month.
More Cherry Recipes from the Grains & Greens Kitchen
More from the Grains & Greens Kitchen


