
Milling Flour at Home
Milling flour at home might sound complicated but it’s actually as simple as grinding coffee beans. And you don’t need to be “crunchy” to enjoy it! It’s the easiest way to boost nutrition while taking the guesswork out of healthy eating.
For the past five years, milling my own flour has been a game changer in my sourdough baking, adding incredible flavor and aroma. With so many mills available, everyone can grind fresh flour at home in just a few minutes.
Once you get the hang of baking with fresh flour, you’ll find that freshly milled not only tastes better—it’s also better for your gut and your overall well-being. As a mom of two picky toddlers, having the ability to bake nutritious food has been a huge relief. It completely shifted how I think about grains, carbs, and food in general.

Let’s take a look at the most common questions—why you should mill at home, how to choose a grain mill and which grains you can stock up on. We’ll also take a quick look at how to use a grain mill and how to bake with fresh flour.
Why I mill my own flour at Home
There are three main reasons why milling flour at home is increasing in popularity: superior flavor, increased nutritional value, and cost-effectiveness. Let’s take a closer look!
Superior flavor
Freshly milled flour offers a rich, slightly nutty flavor that’s far more complex than store-bought flour. If you’ve ever had coffee brewed from freshly ground coffee beans, you’re no stranger to the concept that freshly ground equals better taste. With fresh flour you’ll really notice the difference in simple recipes—pancakes, waffles, and of course, sourdough bread. If you’ve never liked the taste of store-bought whole wheat flour, freshly-milled is a totally different beast. Trust me, the aromas are a completely different experience.
Health benefits
Flour starts losing its nutrients just hours after milling. Considering the time it takes flour to end up in your kitchen, almost if not all the nutrients will be lost. If you use it right away however, fresh flour retains its full nutritional profile. Plus, when you buy wheat berries and store them properly, they can last for years, preserving all their precious nutrients. So you can relax knowing that you’re getting all the good stuff without worrying about it going bad.
The rise of industrial grain milling gave us mass-produced, refined white flour. It was easy to transport and had a longer shelf life. But by stripping away all the bran and germ to achieve that goal, it also stripped away almost all essential nutrients and vitamins. Because of that, chronic conditions and deficiency diseases became more common. Over time, these deficiencies led to serious public health issues.
To combat these issues, many countries introduced laws requiring the fortification of refined flour, adding nutrients like iron and B vitamins back in (but often synthetically). That band-aid like solution doesn’t even come close to the full spectrum of nutrition whole grains offer though. By going back to freshly milled flour, you’re giving your body a hefty amount of real, whole nutrients—and without any potential preservatives.
Lower cost
Milling flour at home can actually save you money in the long run. I buy 12 kg (~24 lbs) of organic heritage wheat every couple of months. Though it costs more than the cheapest store-bought flour, it’s still cheaper to make my own sourdough bread than to buy a mass-produced loaf from a supermarket or bakery (which, let’s be honest, don’t even come close to offering the same variety of grains or *gasp* real sourdough). So yes, depending on what kind of bread you’re into, milling your own flour at home can absolutely be the more economical choice.
How to choose a grain mill
Here’s where things get a little tricky—choosing the right mill for you. There are plenty of options, but no need to stress! Let’s break it down to make it easy:
Electric vs. hand Mills: If you plan to grind grains more than a few times a year, I highly recommend an electric mill. Milling by hand is possible, but it’s slow and a little exhausting. With an electric mill, you can set it and forget it (for a few minutes, at least) while you get on with other things in the kitchen.
Steel vs. stone: Steel mills grind quickly and are easy to maintain, but they can generate heat that affects the flour’s delicate nutrients. On the other hand, stone mills grind slower but preserve more nutrients. They produce a finer grind, which is great for texture. Stone mills do wear down over time, but they can last a long while and usually are easily replaceable.
Budget: If you’re not sure whether milling flour at home is for you, there are budget options that work just fine without fancy settings. And when you fall in love with the flavor (trust me, you will), you can always upgrade. If you’re really unsure, you can find second-hand models online—but make sure the stones are in good condition!
No matter which mill you choose, make sure it’s easy to clean and not too noisy for your needs. You’ll also want a variety of settings so you can get the grind fine enough.
How to mill flour at home using a stone mill
Before diving in, always refer to your mill’s manual to make sure you’re using it correctly and not causing any damage. Here’s how I set my KoMo Duett 100 mill to the finest setting:
- Turn the mill on and adjust the hopper
Power up your mill and get ready to grind! The hopper (the big top part that holds your grain) needs to be rotated to adjust the grind. While the mill is running, turn the hopper towards the “fine” setting. - Listen for the stones and back off slightly
Keep turning until you hear the millstones begin to scrape against each other. Once you hear that sound, rotate the hopper just enough to stop it. This is your finest grind setting, with the stones as close as they can get without grinding against each other. - Use the marking for reference
There’s a handy marking under the hopper to help you return to this setting whenever you need it. Be mindful, though, that temperature and humidity can shift the fine setting, so it’s good to check and adjust occasionally.
Once you have the finest setting dialed in, the milling process is pretty straightforward:
- Weigh the grain and check for debris
Use a digital scale to measure exactly how much grain you need for your recipe. Spread the grain on a baking sheet or tray to remove any stones, chaff, or debris before milling. (I’ll admit, I mostly skip this step, but it’s better to stick to it, especially if you’re starting a new batch.) - Mill the grain
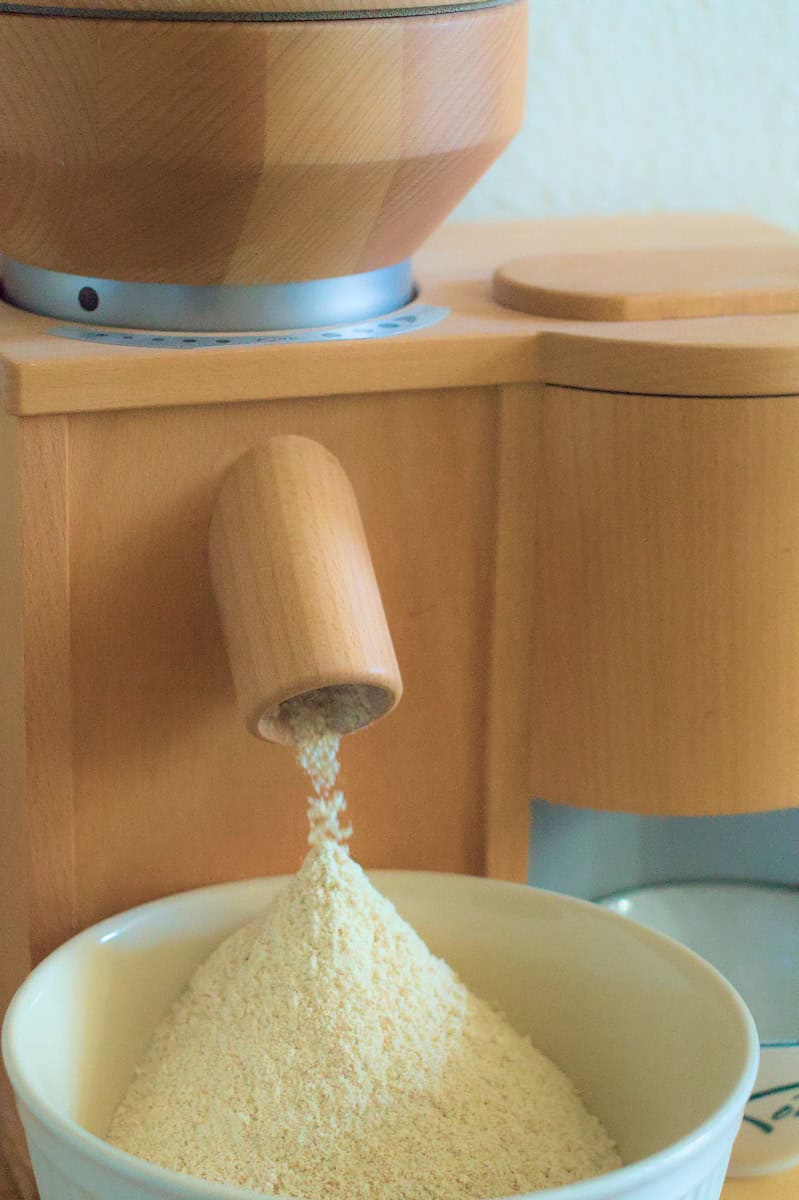
Follow your mill’s instructions. For my KoMo, I place a bowl under the spout to catch the freshly milled flour, adjust it to the finest setting, and pour in the grain. - Use the fresh flour
Remember, milling generates heat, so freshly milled flour can speed up rise or fermentation times. Be sure to adjust your timing to account for that fresh, warm flour!
Grains to mill: the fun part!
Milling your own flour at home opens up a world of possibilities, from classic wheat to ancient grains, and even gluten-free options. Trying out different grains is one of the best parts of owning a grain mill! Here’s a rundown of what you can mill and experiment with:
Wheat: Hard wheat (higher protein) is your go-to for bread, while soft wheat (lower protein) is perfect for cakes and pastries. This distinction between hard and soft wheat is particularly significant in North America.
In Europe, the vast majority of flour and bread are made with soft wheat, which is lower in gluten. Hard wheat here typically refers to durum wheat.
Durum wheat: Durum is known for its yellowish color and high gluten content, making it perfect for pasta. On its own it’s not ideal for bread due to its lower gluten elasticity, but it creates pasta with that perfect firm texture.
Rye: Rye grows very well in Europe. It doesn’t form gluten like wheat, so it creates dense, flavorful breads. Think pumpernickel. Its rich flavor compensates for the added stickiness of the dough. Rye is a big deal in Germany and Denmark!
Spelt: It is considered a more “primitive” form of wheat and is often praised for its higher protein, fiber, and mineral content. Spelt contains a gluten structure that is more fragile, making it easier to digest for some individuals.
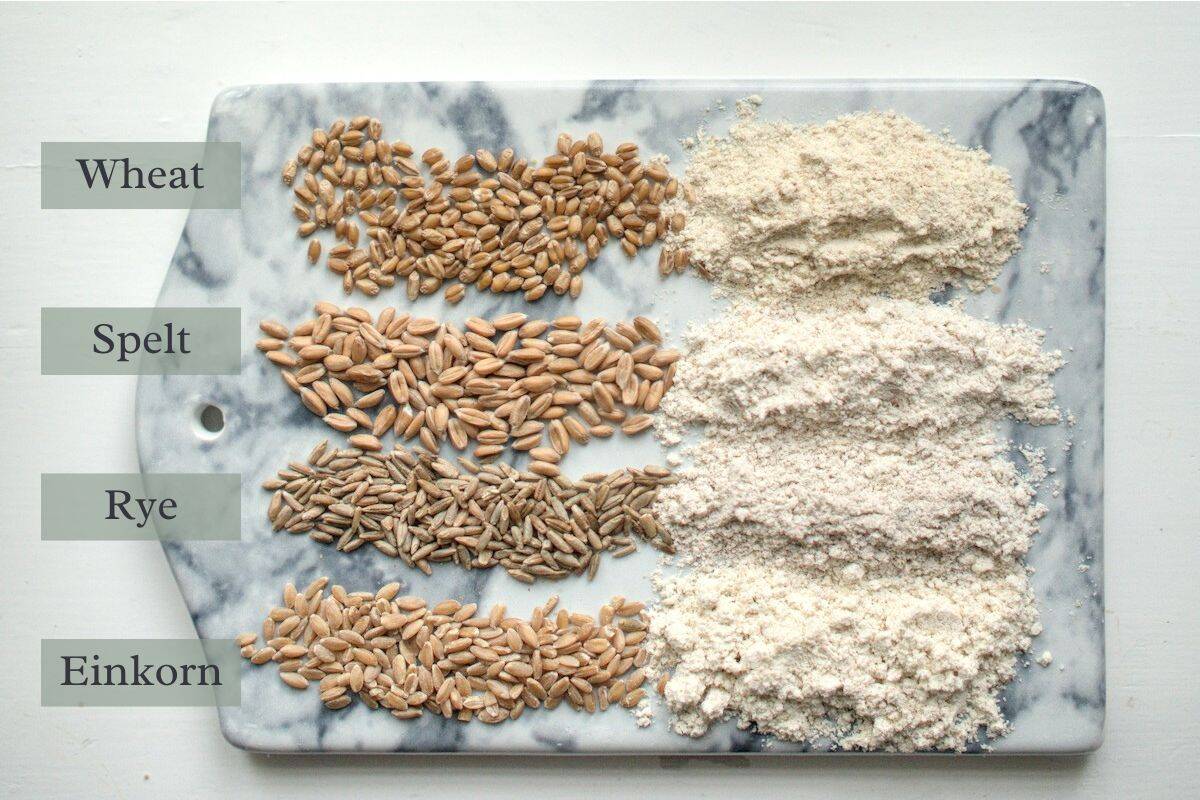
Einkorn: Einkorn is one of the oldest cultivated grains. It’s a soft wheat rich in protein, minerals, and antioxidants. While it still contains gluten, many people with mild sensitivities find Einkorn easier to tolerate.
Khorasan: Also known by the brand name Kamut, Khorasan is an ancient high-protein wheat, with a gluten structure that’s typically more digestible than common wheat. Khorasan flour has a golden hue, and it produces the most flavorful loaves with a slightly denser crumb.
Oats: Rich in fiber and nutrients, oats don’t contain gluten but can still be paired with other flours for baking bread. You can easily mill your own oats in combination with other grains for a more tender, moist crumb.
Gluten-free options: You can also mill gluten-free grains like buckwheat, rice, quinoa, millet, and others. Depending on your model of grain mill you can also mill beans, lentils and corn.
Milling your own flour at home gives you the freedom to experiment with all these grains and explore a variety of flavors and textures. Whether you’re baking for health, flavor, or curiosity, there’s always something new to discover!
Correct storage
Whole grains can keep for several years if stored correctly. So if you have the space: stock up!
Storing grains
Whole grain berries are best kept in a cool, dark and dry place. If you have the space you can get large plastic or paper buckets. Make sure whatever you get has a tight sealing lid, so no pests can get in.
Some people like to store their grains in the freezer. This will help offset the heat generated during the milling process. It’s not necessary though.
I have limited storage space in our apartment so I don’t buy huge quantities at once. I try to keep it tightly sealed in the coolest spot I can find and don’t stress it as I know I will go through it in two to three months anyway. If you stock up on larger quantities, do make sure that you can store them properly.
Storing fresh flour
If you milled more than you need you can keep your excess flour in an airtight container in the fridge for 1-2 weeks. If you don’t think you can use it up in that time you can go ahead and freeze it. Fresh flour will still loose some nutrients during that time. Try to only mill as much as you plan to use at any given time. Of course if you measure flour by weight you will not end up with excess flour. You know, just in case you need further convincing.
Baking with fresh flour
There’s a lot to say about baking with fresh flour but let’s keep things simple for now and cover the basics. If you want to dive deeper, I went into more detail here: How to bake with freshly milled flour.
Fresh Flour is different than all-purpose. It’s even different than store-bought whole grain flour. Because of that there are a few things that you might need to adjust:
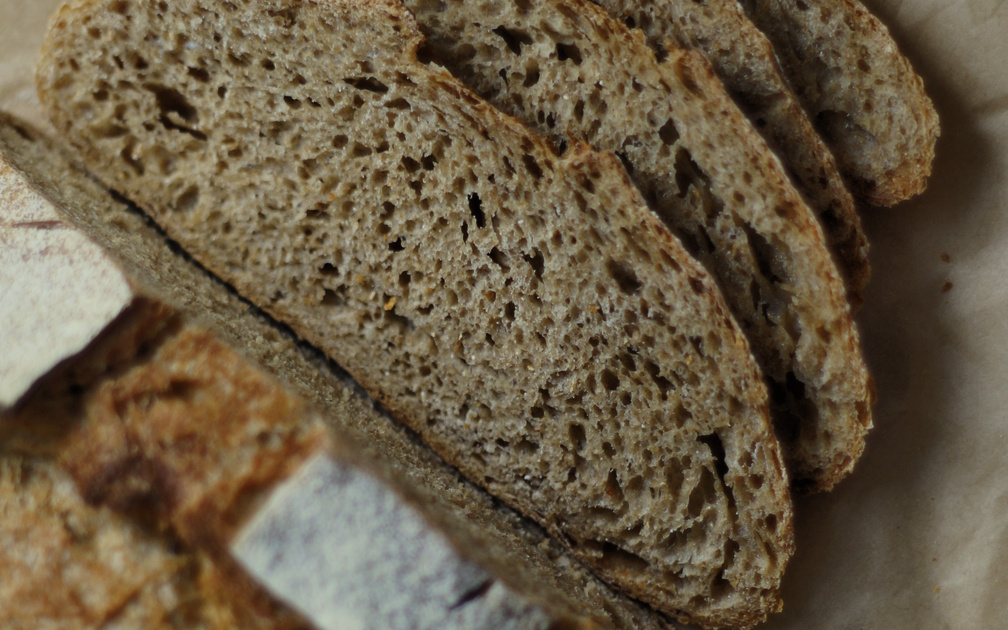
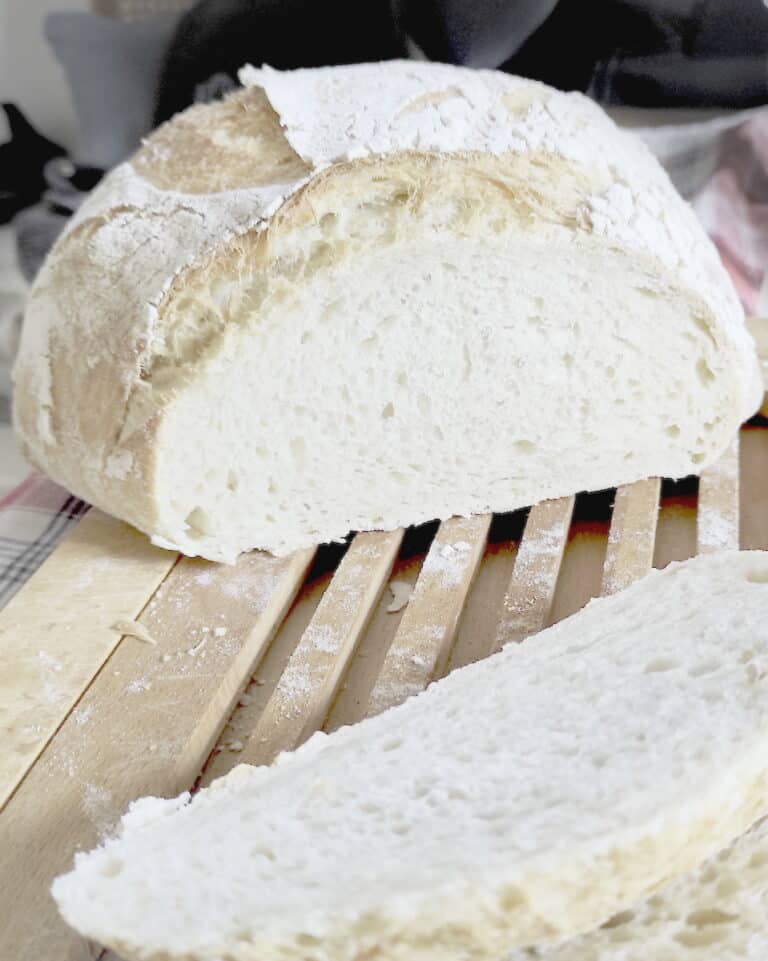
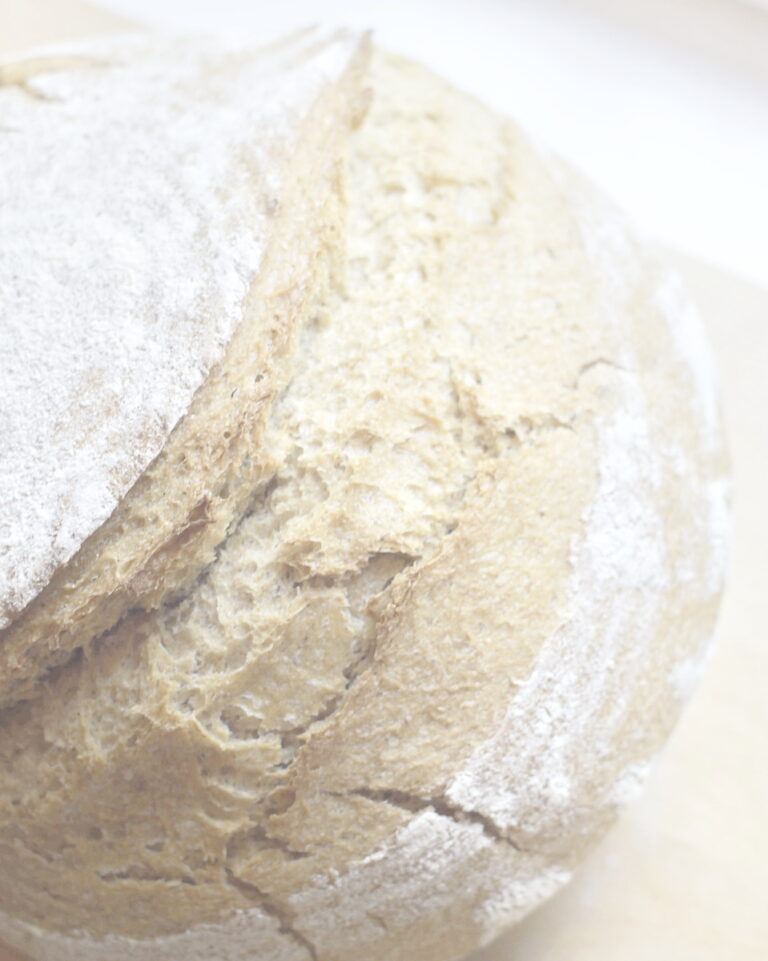
Expectations
Expect a denser, tighter crumb, a slightly darker color, and less rise. But don’t let that scare you! This is totally normal, and it’s not a bad thing! While it might look a little different, the flavor will be so much richer and more complex.
Measuring techniques
Freshly milled flour is fluffy and aerated. Chances are that a cup of fresh flour is not going to weigh the same as a cup of flour that has been sitting in a bag in your pantry. You’ll get better results weighing your flour. Aim for 130-140g of fresh flour as a starting point for every cup of white flour the original recipe calls for. If the original recipe measures ingredients by weight then go ahead and just swap in the same amount of fresh flour. Pro tip: When swapping ingredients, don’t mix measuring techniques. So, if you replace flour by weight, replace the other ingredients by weight as well.
Liquids
Fresh flour contains all the bran and germ of the whole grain. Therefore it is more absorbent than aged refined flour. Depending on the original recipe, you may have to increase the liquids to get the right consistency. Aim for about 5-10%. Freshly-milled flour will always benefit from a resting period after it has been mixed with the liquid part of the recipe. It will be a lot easier to assess whether the dough or batter needs more liquid or not after 30-60 minutes.
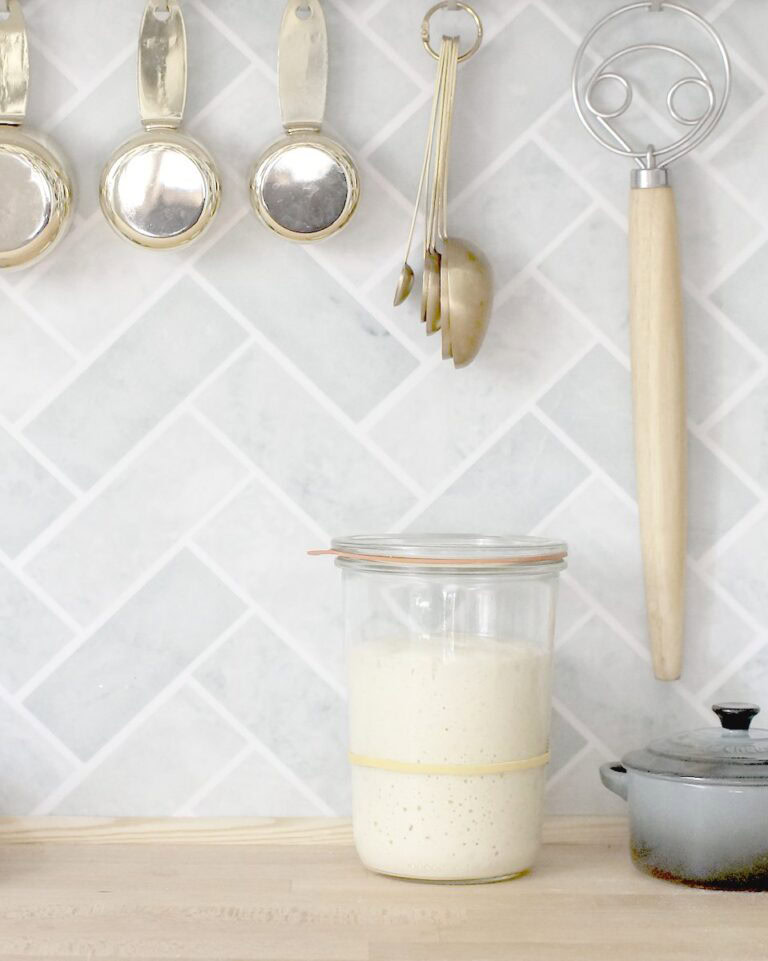
Fermentation time
Keep an eye on your dough when using fresh flour in recipes that rely on yeast or sourdough as a leavening agent. With all the bran and germ available as food, your sourdough starter will increase in activity. That and the heat from the milling process can noticeably speed up rise or fermentation times. It may double more quickly than what you’re used to.
Final thoughts on milling flour at home
I won’t lie—the initial investment in a grain mill can be steep. Good mills are pricey, and sourcing quality grains can add up. But it’s an investment that’s worth it. I believe in investing in quality tools that last—and this one brings so much joy to my daily life.
I purchased my grain mill in April 2020, right when the pandemic hit. Supermarket shelves were stripped bare of flour, pasta, and yes, toilet paper. But whole grains were still readily available. That’s when I decided to finally start milling my own flour at home. It turned out to be one of the best decisions I’ve ever made. I’ve been baking sourdough for over 10 years. But it wasn’t until I started using freshly milled flour that I truly unlocked its full potential. The difference in flavor is so worth it!
Milling my own flour has also helped me make peace with food. I have been through my fair share of “healthy” crash diets, restrictive diets and everything in between. I was afraid of all carbs for several years. Milling my own flour has been the last puzzle piece I needed to come clean and abolish the distinction between “good food” and “bad treats”. By using fresh flour, everything I bake becomes a healthy choice.
Bread is no longer something to limit, count and feel guilty about. It fills me up, nourishes me, and gives me the energy to keep up with my two littles (3 and under!). It’s been such a relief feeding them fresh flour foods. Even if at the end of the day all they really wanted was bread and butter or fresh flour cinnamon rolls, I’d feel good knowing they’re still getting real, wholesome nutrition.
FAQ
Are you ready to take the plunge into home milling? It might feel like a big step, but the transformation in your baking is worth it. Drop a comment below to share your thoughts or experiences—I’d love to hear how freshly milled flour is changing your baking!


Sarah, what is the heritage yellow wheat that is your favorite for baking sourdough? I am interested in purchasing a grain mill and read on your “about me” page that the heritage yellow variety is your favorite. The only yellow flour I know is Durham from Italy, and it sounds like that’s not good for sourdough. Thanks for clarifying!
You’re right, Durum doesn’t work for regular sourdough recipes!
I buy all my grains from UrkornPuristen. They’re on the pricier side, but it’s all organic, heritage and ancient grains. Gelbmehlweizen is my favorite! (It’s not an affiliate link, I just really love them :))
Let me know if you have any other questions!
You are evil 😄 I just ordered a whole bunch of grains from them, just to try them out as I can’t get most of them in my local stores…🙈😄