
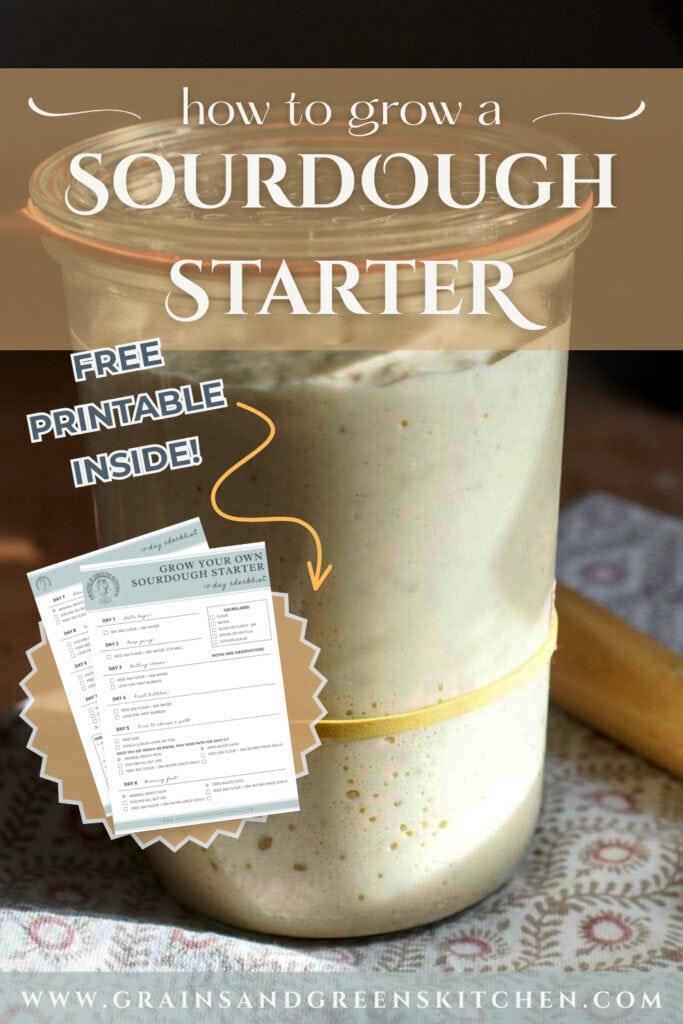
How to Grow a Sourdough Starter
Welcome to the Simple Sourdough Starter-Series! Let’s talk about how to grow your own sourdough starter, handle sourdough discard, and maintain your starter in a way that suits your life!
If you’ve been intimidated by sourdough before—fret not! Most guides are strict about the “correct” way to handle it, but the truth is: there’s plenty of wiggle room. It doesn’t have to be complicated and mysterious, even if you’re new to it. We’re keeping it casual, I promise. Sounds good? Then let’s dive in!

Making a sourdough starter from scratch is simple—all you need is flour, water, and a certain degree of patience!
When I grew my first sourdough starter 10 years ago, I followed a super simple no-discard guide. All I had to do was add the same amount of flour and water to a bowl every day for 5 days. That was it! No confusing feeding schedules, no fuss, no waste.
Over the years, I’ve refined the process and developed my own method, blending the zero-waste approach with traditional discard techniques that help your starter develop a strong, healthy balance. I call it “The Hybrid Method”.
Let me teach you! It keeps things simple on your part while allowing your starter to build strength before you begin discarding, ensuring a robust fermentation process and safe discard. I’ve used it to grow many starters on many occasions and it has never failed me once!
Why the Hybrid Method Works Best
The hybrid discard method walks the line between building a strong starter, minimizing waste and keeping things fuss-free. Here’s why it works:
In short, the hybrid method ensures you get a healthy, stable starter and safe discard, without unnecessary waste. It’s the best of both worlds!
Discard and Zero-Waste
Why is there a discarding phase in a zero-waste guide? I’m so glad you asked! Since it takes 10 to 14 days until a sourdough starter is strong enough to bake with reliably, there is no real way around discarding. A sourdough starter needs to be fed its own weight in flour and water for optimal growth (also known as a 1:1:1 feeding ratio). If we never remove any starter, it quickly grows too large and would require huge amounts of flour.
By waiting until day 8 to discard, we let the first microbial balance stabilize. That first discard is large, but it’s safe to use and can be stored. After that, we keep a fairly small starter and discard daily to support healthy growth. The discard from this second week can all be collected for recipes.
The real value of zero-waste sourdough lies not in the flour you may or may not waste. It lies in the bread you bake. No matter how imperfect your loaf turns out, it will always taste better than anything you could pick up in a shop. In that sense alone, nothing is ever wasted when you bake your own bread. The worst that can happen is a loaf destined for (delicious!) croutons. And that’s not really a loss at all!
Safety Note: About Early Discard
Early discard from the first 7 days is not considered food safe. If you’re not comfortable collecting the discard from the first week on day 8, it’s totally okay to compost or toss it! You’ll only waste a small amount of flour (around 300g or 2.5 cups), which is still minimal-waste in the grand scheme of things (it’s a one-time thing!).
On day 8, you can start saving discard. At that point, it’s generally safe—as long as you cook it thoroughly. Never eat discard raw, and don’t feed it to pets. If you ever see any pink or orange streaks, fuzz, or visible mold—toss it!
Use your best judgment. It’s entirely your call whether you want to save the early stuff or not. It doesn’t have to be perfect—it just has to be safe and workable for you!
What You’ll Need To Get Started
Flour: All-purpose, whole wheat or freshly milled flour—whatever you prefer or have on hand. (Self raising or bleached flours are not suitable.)
Water: Filtered or dechlorinated if necessary
A jar: Glass or plastic with room for expansion
A long spoon or spatula
Kitchen Scales: Keeping the ratio of flour and water accurate during the growing stage gives best results
Always make sure your equipment (including your hands) is clean, to avoid contamination.
How To Grow a Sourdough Starter—Daily Guide
Day 1: Mix Your Starter

- Combine 30g flour and 30g water in a jar.
- Stir well to create a thick, smooth paste.
- Loosely cover with a lid or cloth and keep in a warm spot.
Days 2–4: Keep Feeding
- Each day, add another 30g flour and 30g water to the jar.
- Stir thoroughly and keep covered in a warm spot.
- By Day 4, you should start noticing bubbles and maybe the first small increase in size.
This is your starter’s honeymoon period. You’re helping the microbial community get established—so there’s no need to discard anything yet!
Day 5–7: Hooch, Double Feedings & Minimal Waste

If you see hooch (a layer of clear or dark liquid) or your starter is rising within 4–6 hours of feeding, it’s time to switch things up.
Now you have two options:
- Minimal-waste path: Begin discarding all but 30g of starter before each feeding. Don’t collect any discard at this point.
- Zero-waste path: Feed twice a day (30g flour and 30g water) without discarding until day 8. Move to a larger container if needed.
Hooch is a natural sign your microbes are hungry. Regular feedings at this stage help your starter build strength—doubling more consistently, smelling tangier, and becoming more predictable. It’s still very young and not ready to bake with yet (unless you’re prepared for very inconsistent results).
Days 8–10: Strengthening Your Starter
- From day 8 onward, start discarding all but 30g and feeding 30g each flour and water daily.
- By Day 10, your starter should be doubling reliably within a few hours of feeding. It should smell pleasantly tangy and active.
- That means it’s now ready to bake with!
- If it’s not quite there yet, keep feeding it for a few more days.
Just remember: It takes most starters between 10 to 14 days to be strong enough to rise bread dough. So don’t be discouraged if your early loaves aren’t perfect right away!


Free Printable: Grow Your Own Sourdough Starter Daily Checklist!
Want a simple way to stay on track while growing your starter? I’ve made a free printable checklist so you don’t get lost counting the days (I know I do). You can use it to track feedings, note observations, and celebrate the first bubbles!
Perfect for sticking on your fridge, journaling your sourdough journey, or just keeping things stress-free.
When is a New Starter Ready to Bake With?
It takes most starters at least 10 to 14 days to be strong enough to bake with for the first time. It’s not so much about the days but about the behaviour of your starter. So, how do you know when your starter is ready to bake with? You’ll want to look for a few key signs:
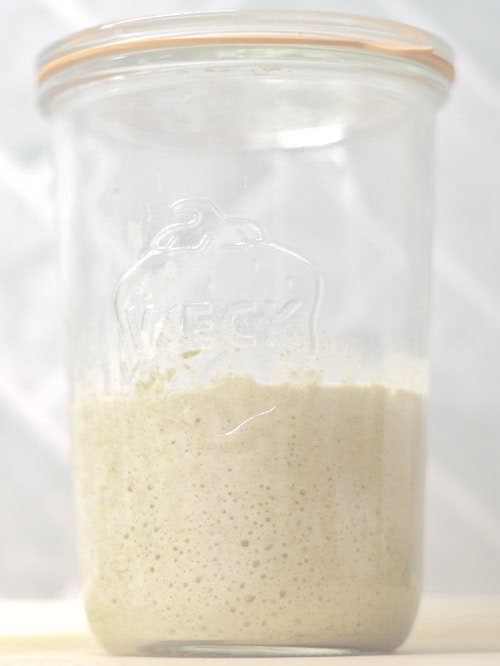
Thick Consistency
Your starter should be the thickness of warm peanut butter or thick pancake batter. When it doubles, it’ll have an airy, mousse-like consistency that’s stretchy but still pourable—not runny or watery.
Doubling in Size
The most important thing is that your starter consistently doubles in size 4-6 hours after feeding. If it’s doing that, you’re in business!
Smells Delightful
Your starter should smell yeasty and sweet, kind of like fresh bread dough. If it’s got a funky smell, like acetone or stinky socks, keep feeding it until it settles.
Bubbles on Top
You’ll see bubbles popping up to the surface, especially when it peaks. Those bubbles should break through and leave a nice airy texture.
Nice Domed Shape
When your starter peaks, it should have a dome-like shape at the top.
Sponge-Like Texture
If you look at the side of the jar, the bubbles will be large and bubbly, like a sponge!
Honeycomb-Like Structure
When you tilt the jar, you should be able to see a honeycomb pattern of bubbles inside. That’s a sign that things are looking good!
If your starter displayed all or most of these signs, go ahead and give it a try! The starter I grew for this series made its first amazing loaf on day 13.
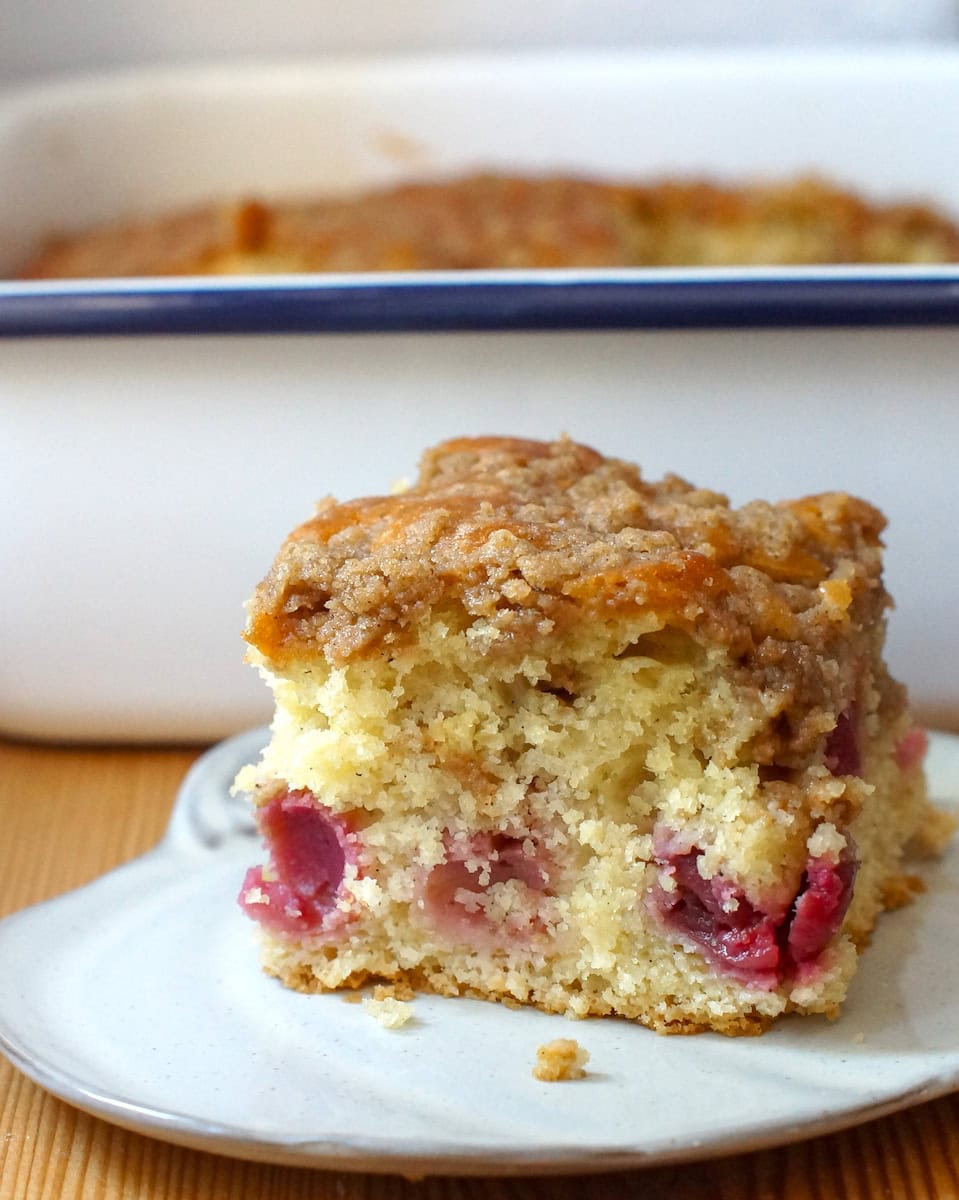
Technically, a starter isn’t truly “mature” until it’s a few months old. So don’t be discouraged if your early loaves aren’t perfect for a while yet! Your starter is a living thing and like all living things, some require more patience than others. While you wait for full strength, you can enjoy some amazing discard recipes!


Common Issue: Runny Starter?
Sourdough starters typically use a 100% hydration ratio, meaning equal parts water and flour. But depending on the flour you’re using and the conditions of your kitchen, the consistency might not be quite right.
If your starter’s a little too runny, don’t stress—it’s easily fixed!
Flour Type
The kind of flour you use can make a big difference. Whole wheat and rye flours soak up more water than regular all-purpose flour, so if your starter’s too loose, try switching it up. Freshly milled flour also absorbs more moisture, so it could be making your starter thicker or more stable than expected.
Hydration
We usually go for a 100% hydration starter (equal parts flour and water), but you might find that a slightly lower water-to-flour ratio works better for your kitchen (works better in mine!). If your starter’s runny, try cutting the water back to about 20-25g per feeding. This can give it a bit more structure and help with consistent rising.
Weighing Ingredients
Measuring by weight really helps with consistency. Even small changes in the flour-to-water ratio can affect your starter’s texture. If you’re not using a scale, it’s a good idea to start! It’ll give your starter the best chance to thrive and make sure you’re always on track.
Coming Up Next: What To Do With Sourdough Discard
Now that you know how to grow a sourdough starter, you’re off to a great beginning—but the journey doesn’t stop here. Next up: what to do with the discard you collected! I’ll walk you through how to store it, how to use it (even when it’s still young), and how to reset discard that’s gone a little too sour. Stay tuned!
The true power of a starter lies in patience — for even the mightiest oak began as a humble acorn.
The Journey of Growth
Rise, rise,
Falter, then strive,
Through stillness, you wake,
Flour, water — you take,
Bubbles will guide.


2 Comments