
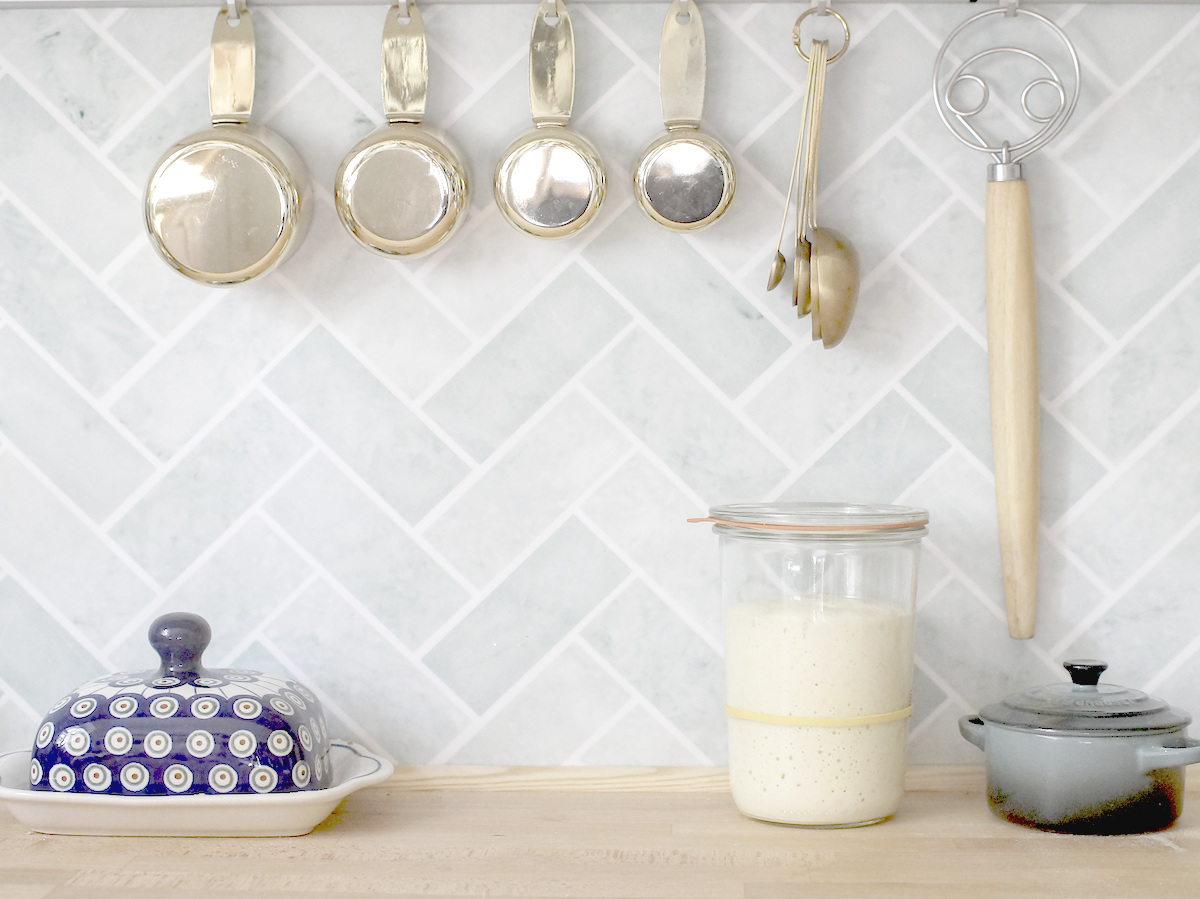
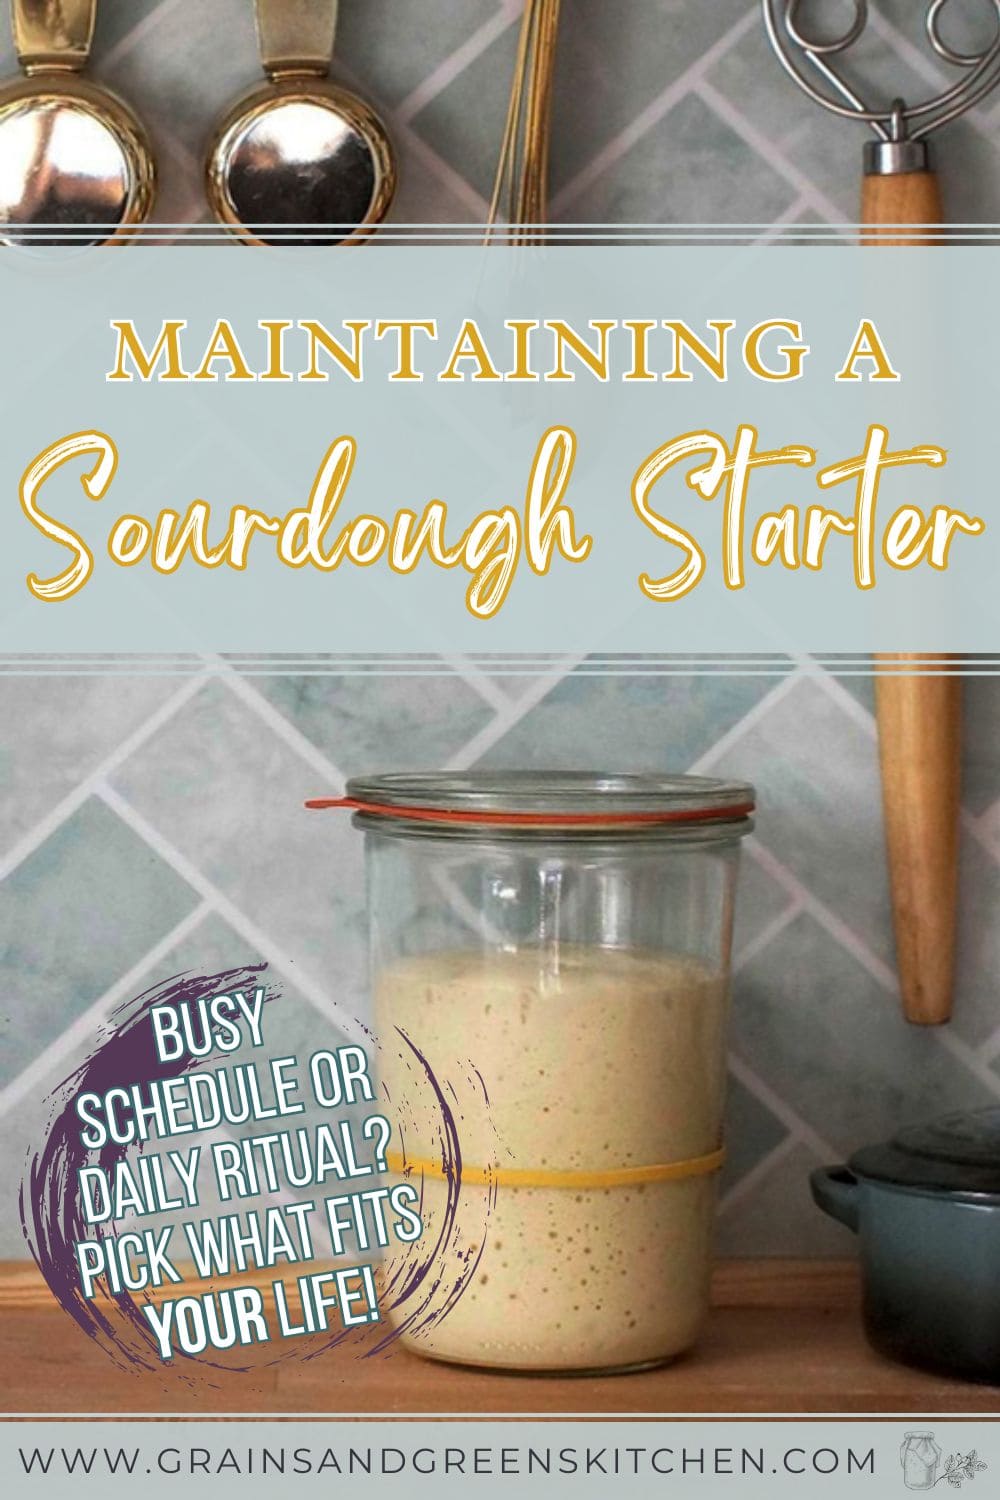
Maintaining A Sourdough Starter
Welcome to Part 3 of the Simple Sourdough Series! So, your starter is alive and well—congrats! You’ve made it through the early days, and now it’s time to find the right way of maintaining your sourdough starter that fits your lifestyle! Whether you want a ready-to-bake starter on your counter or a low-maintenance version that hangs out in the fridge until you need it, this guide has you covered. We’ll walk through the two easiest maintenance methods, fridge vs. countertop storage, and all the FAQs that come up once you’ve got a mature starter on your hands.
I was a few years into sourdough when I first came across discard recipes. They all started with “don’t throw away your discard!”—which was confusing, because it solved a problem I didn’t have! But it did sound delicious, and I got curious!
My first starter had been a gift, but I couldn’t bring myself to toss flour every day. So after its first week living on the counter (and growing to the size of a small poodle), I moved it into the fridge and switched to a no-discard routine—without knowing discard could even be used for anything.
Maintaining a Sourdough Starter: Two Methods
So, how should you keep your starter going? That depends entirely on what works for you! Your starter’s not picky—daily or weekly, discard or no discard—it’ll adapt (eventually). The real question is what fits into your kitchen rhythm without driving you nuts. Let’s walk through your options:
Traditional Discard Method
- Keep your starter at room temperature and feed it daily.
- Before each feeding, discard half to keep the total amount manageable.
- Young starters benefit from being kept at room temperature.
Pros |
Cons |
|---|---|
|
It’s always ready to bake with |
Daily feedings will produce a lot of discard |
|
Ideal if you bake daily |
No Discard (Zero-Waste) Method
- Once you’ve removed part of your starter for baking, store ¼ to ½ cup of your remaining starter in the fridge.
- The night before your next bake, feed it with enough flour and water to create the amount of starter your recipe calls for.
- Use what you need for baking, then return the remaining starter to the fridge.
Say you need 120g (1/2 cup) of starter for a bread recipe, you’ll feed your starter with 65g each and flour and water the night before. Use the 120g you need to make bread and put the remaining starter back in the fridge. You’ll have just as much starter as you did before and nothing got wasted.
Pros |
Cons |
|---|---|
|
Less waste, less maintenance |
Needs a little planning ahead before baking |
|
No pressure to use up lots of discard | |
|
Ideal if you bake less often, once a week or less |
Maintaining a Sourdough Starter In The Fridge vs. On The Counter
The best way of maintaining your sourdough starter depends on how you’re planning to use it!
What’s Best For You?
- Daily feedings will produce a lot of discard. If you love making larger discard recipes, like pancakes or waffles on the weekend, then you’re good to go!
- If you just want to keep a starter for bread baking, don’t have additional time to spend in the kitchen, or don’t have enough mouths to feed with mountains of discard recipes all the time, then you will want to keep your starter in the fridge.
The best of both worlds
These days, I use a hybrid approach: My starter lives in the fridge most of the week. When I feed it, I add a little extra (around 40g total). That way, it slowly builds up—and every other week or so, I’ve got enough for a discard recipe. I’m never drowning in discard, but I still get to play around with it every now and then, just for fun!
What’s Best For Your Starter?
Sourdough starters are resilient! Once mature, they’ll adapt to your baking rhythm, no problem. The more often they’re exposed to temperature changes, the quicker they recover. My mature starter can peak in just four hours, even after several days in the fridge.
Your starter will be fine either way. After a short adjustment period, the fridge is as every bit as good as the counter.
What’s Best For A New Starter?
Young starters benefit from being kept at room temperature. The microbes are still finding their balance, and keeping it warm gives the yeast and bacteria a better environment to grow steadily and consistently.
A very young starter might also have more trouble adjusting to life in the fridge and may need more than one feeding to get back up to speed. This is totally normal—especially in the early weeks. Don’t worry! As it matures, it’ll bounce back faster.
If your starter is still a little sluggish straight from the fridge, it will need a little bit of extra TLC to revive:
Troubleshooting FAQs
You’ve Got This—Happy Baking!
Whether you’re feeding daily or keeping it chill in the fridge, your sourdough journey is officially underway! I hope these posts have helped you feel more confident, less wasteful, and totally ready to experiment.
I’d love to hear about your sourdough adventures! Drop a comment to share your questions, triumphs, or anything else in between.
Thanks for reading, and happy baking!


One Comment