
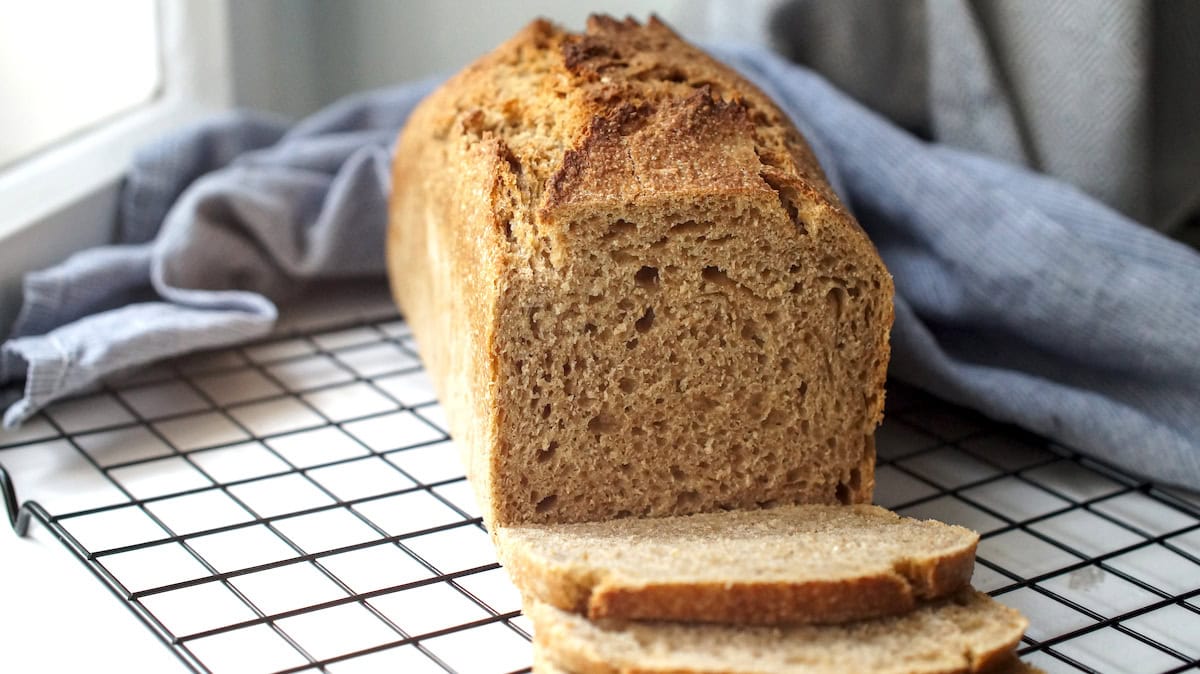
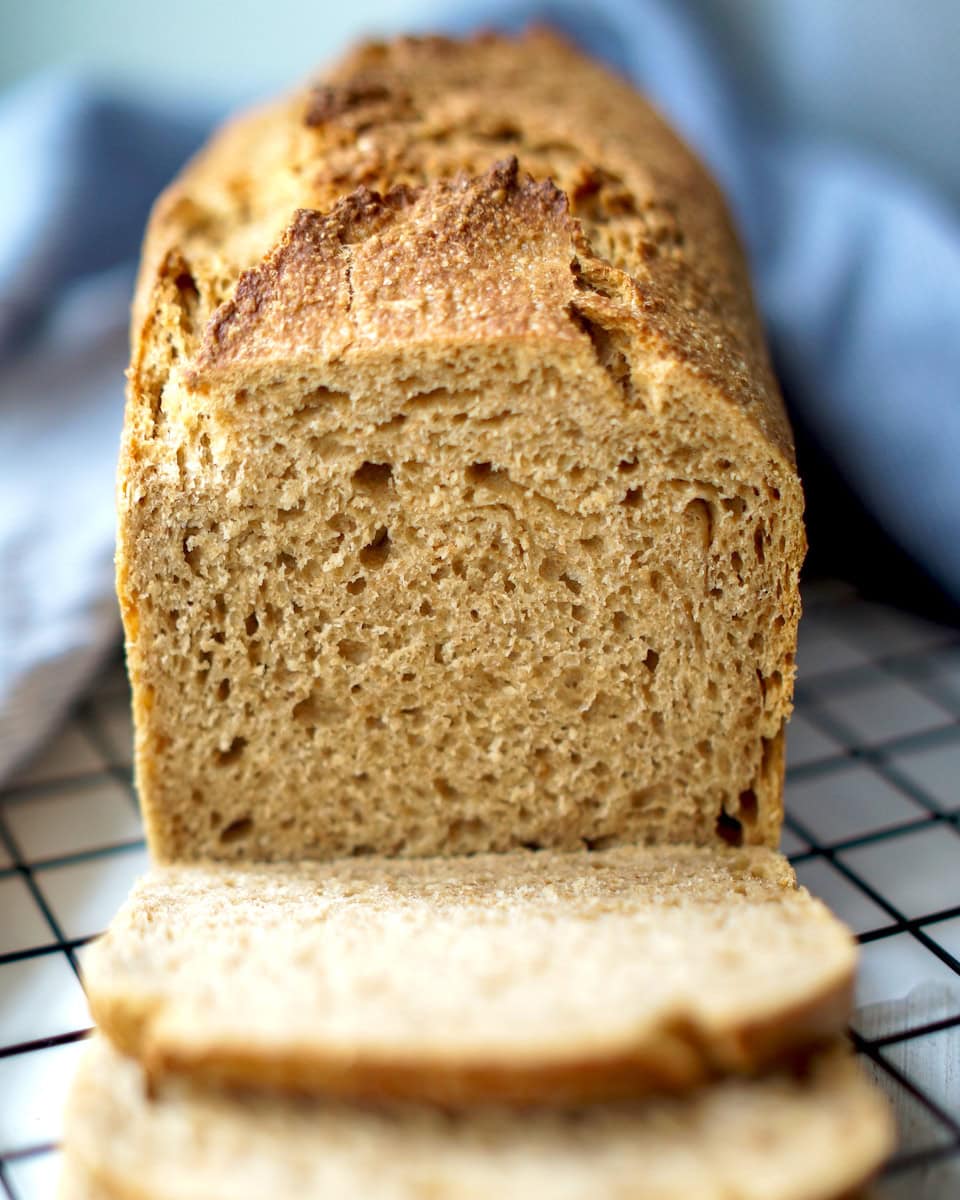
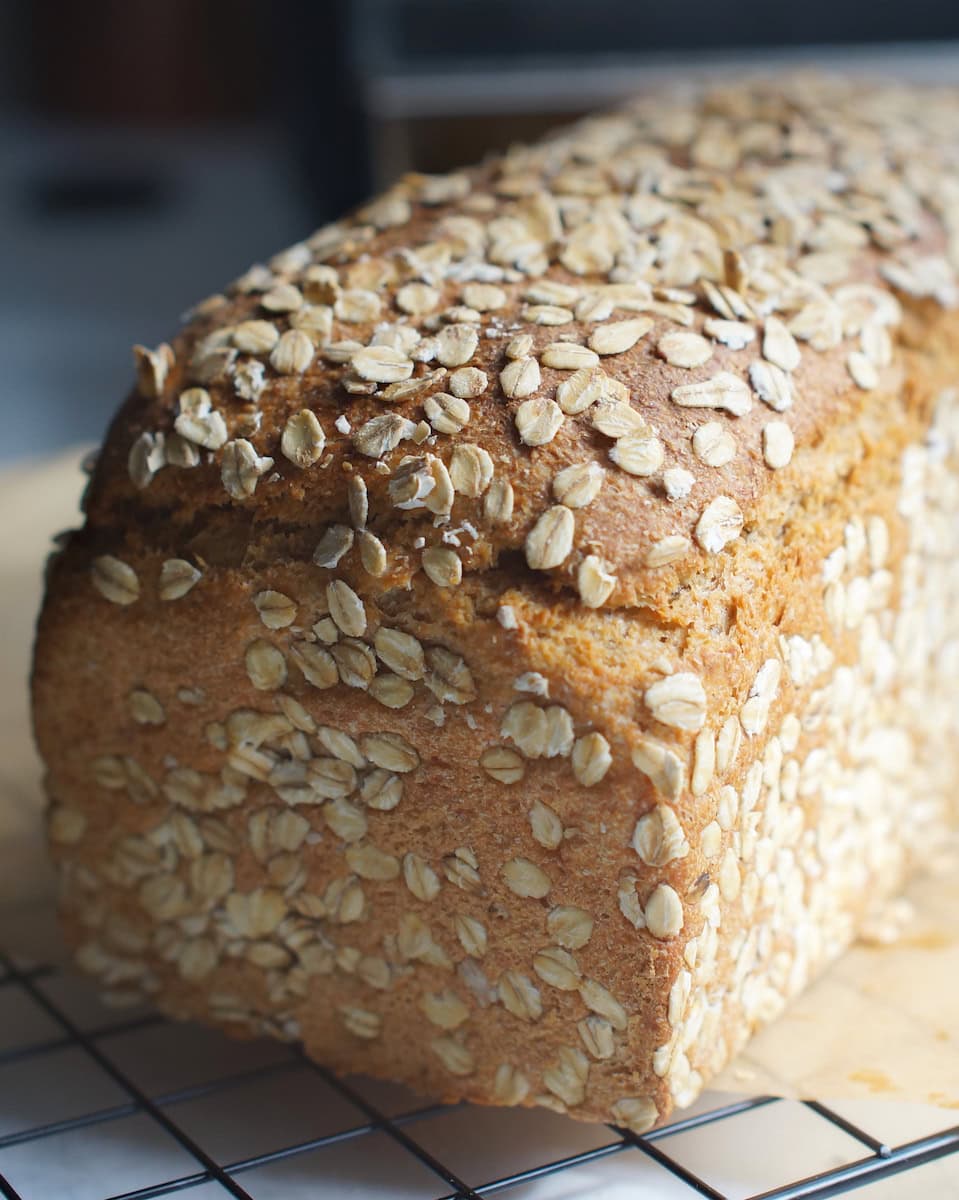
Rustic Kamut Sourdough Sandwich Bread (Freshly Milled Flour)
Bake my favorite soft, buttery Kamut sourdough sandwich bread from freshly milled flour — no fuss, no scoring, no second rise. Just flavor and ease.
Kamut has always been my favorite ancient grain for bread, ever since I got my grain mill over five years ago. I was immediately hooked on the flavor, but as much as I loved my Kamut loaves, I quickly realized I either had to mix it with wheat or keep baking one flat loaf after another.
Kamut is a lower-gluten ancient grain. It won’t form a stretchy dough the way modern wheat does (especially when you’re irrational enough to insist on enriching it with butter and honey). And honestly? That’s perfectly okay. My flatter loaves bruised my baker’s ego ever so slightly, but they more than made up for it in taste. So I stuck with it and happily made banana-shaped sandwiches instead. (IYKYK.)
Then —while writing my guide on baking with soft wheat & lower-gluten grains— it dawned on me: why not just use a loaf tin? It’s one of those no-brainer solutions that you somehow miss until you don’t.
A loaf pan adds structure where a weaker dough needs it. It also takes the pressure off mastering fermentation timing. A loaf pan is very forgiving.
No wonder that this Kamut sourdough sandwich bread has quietly become the backbone of the Grains & Greens Kitchen. It travels to kindergarten in my daughter’s lunch box. It’s our go-to breakfast and pick-me-up staple. It’s soft and buttery and sturdy and nourishing.
I’m sure you’ll love it too!
Why You’ll Love This Easy Kamut Sourdough Sandwich Bread Recipe

Ingredients and Substitutions
Khorasan Wheat (Kamut®) Flour Freshly milled Kamut is a treat. It’s hard to describe the taste without falling back on generic terms like nutty, complex or buttery. It is all of that — and also so much more.
Mill fresh for maximum flavor and nutrition — but know that store-bought whole grain Kamut flour will still make amazing sandwich bread.
Butter Essential for turning bread into sandwich bread. It softens the crumb and helps it toast up to golden, crispy perfection.
Choose a high quality vegan butter with around 80% fat content if you want or need a dairy-free loaf.
Honey Sandwich bread is sweeter than regular bread. I prefer the floral depth of honey, but if you’re out or want a vegan alternative, use sugar, raw cane sugar or even brown sugar. Avoid maple syrup or any liquid sweetener with a higher water content than honey, since the dough is already on the wet and sticky side.
Sourdough Starter For best results, use an active, bubbly starter that’s been fed within the last 4-6 hours.
If you’re new to sourdough, here’s a guide on how to grow your own sourdough starter in 10 days.
Tools You May Need
Stand Mixer (optional) You can knead this dough by hand. Kamut’s gluten structure is more fragile than modern wheat, so it doesn’t need aggressive mixing.
Just keep in mind, that the dough is on the sticky side. It will cling to your hands.
Bench Scraper
Since the dough is so sticky, a bench scraper makes it much easier to shape and transfer the dough.
Standard Bread Loaf Pan or
Pullman Bread Pan (optional) A special kind of bread pan with taller sides and a lid that creates a more uniform loaf.
How to Make the Easiest Kamut Sourdough Sandwich Bread (Step-by-Step)
01
Mill Your Grains (Optional)
Weigh out whole Kamut berries and mill them on the finest setting of your grain mill.
02
Fermentolyse
In the bowl of a stand mixer, add water, honey, and sourdough starter. Swirl to combine.
Add fresh milled flour, and use the paddle attachment to bring everything together into a shaggy dough. Make sure there are no dry pockets of flour on the bottom of the bowl.
Cover the bowl and let the dough rest for 30 minutes.
03
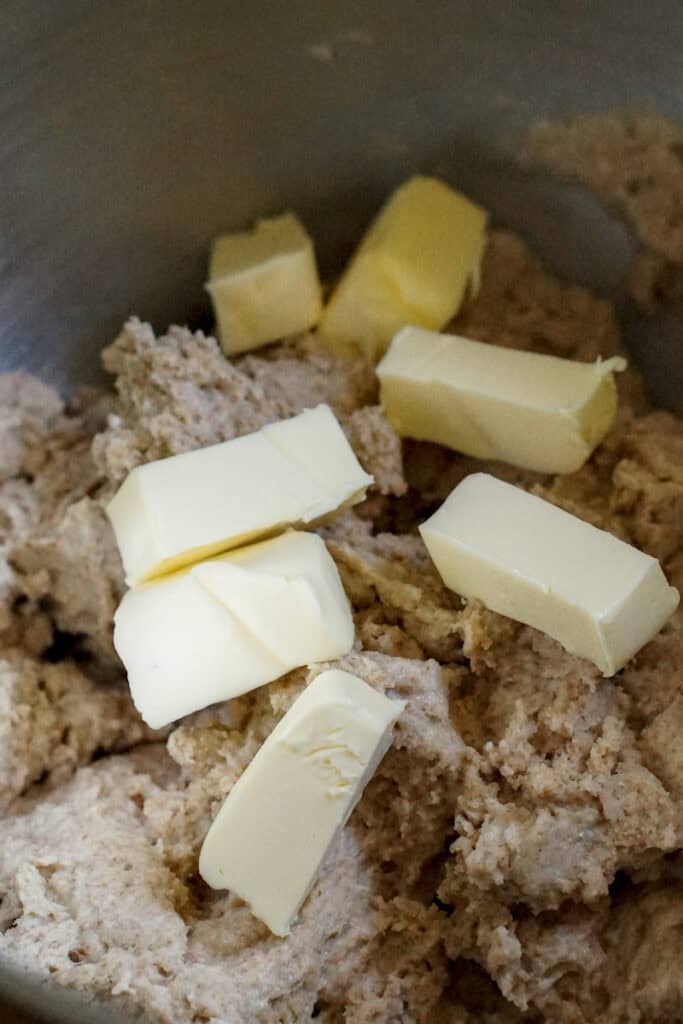
Add remaining ingredients
Add the cold, cubed butter and salt. Switch to your machine’s dough hook.
Knead the dough on the lowest speed for up to 10 minutes. It may not come together into a ball by itself. That’s perfectly okay.
Remove the dough hook, wet your hands, and gently tuck the dough under itself to create a smooth (but sticky) ball.

04
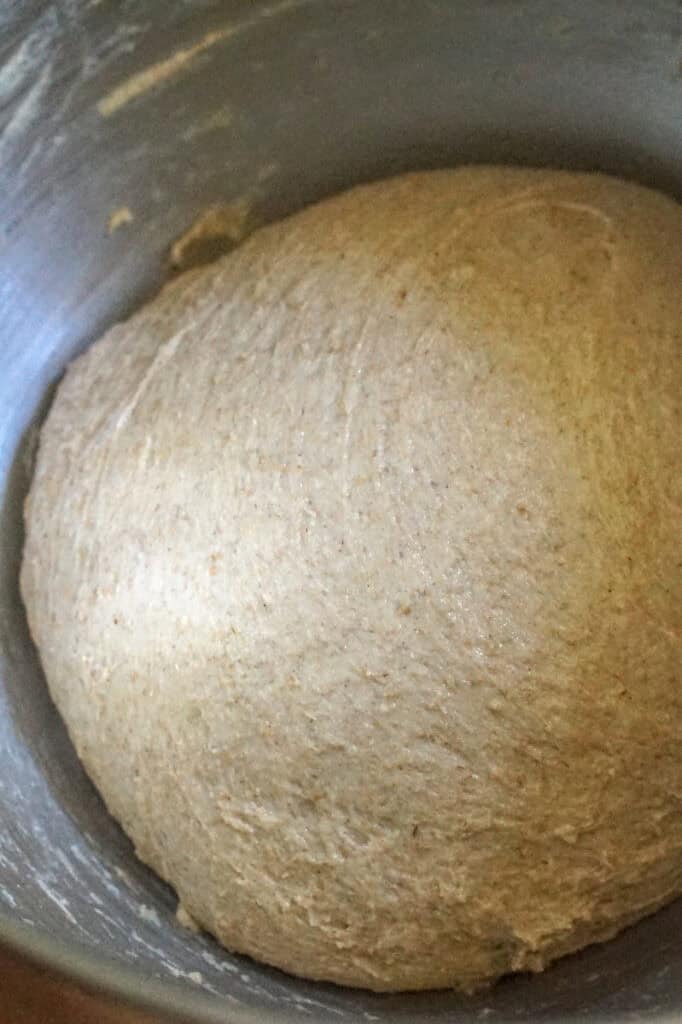
Bulk Ferment
Cover and let the dough ferment until doubled in size and looking puffy and airy.
Depending on your starter’s strength and room temperature, this may take anywhere between 6-10 hours.
05
Prepare the Loaf Pan and Turn Out the Dough
Generously grease your loaf pan with butter and line with parchment paper if you’d like.
Lightly flour your work surface and the top of the dough.
Wet your hands and gently release the dough from the sides of the bowl. Turn it out onto your counter, smooth side down.
06
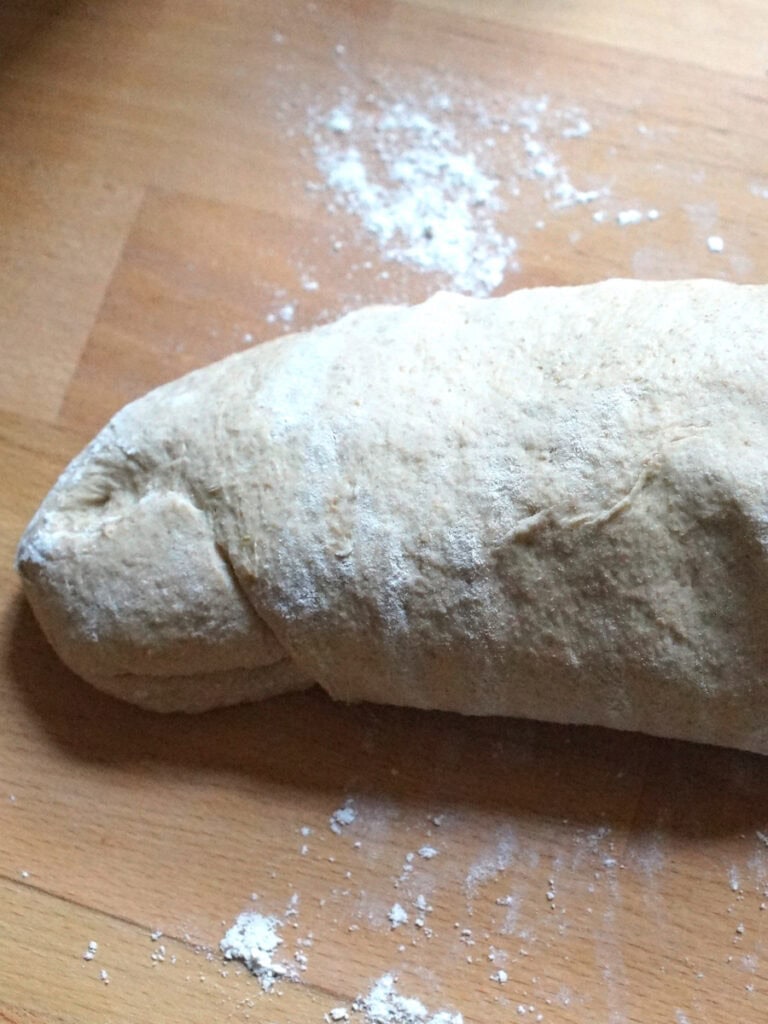
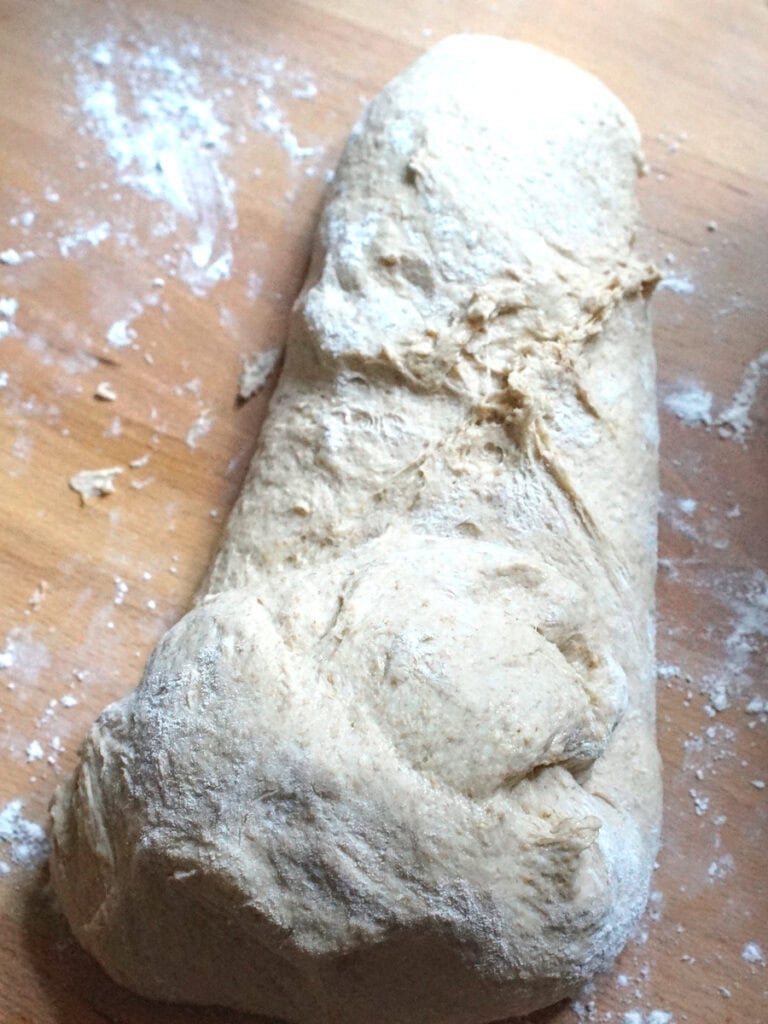
Gently Shape the Dough
Fold the bottom third of the dough up like a letter. Roll up into a loose log.
Rotate the dough 90°, then roll it up again to create a little surface tension. Don’t stress over perfect shaping with this sticky dough.
Use a bench scraper to help with shaping and carefully lower the dough into the prepared pan. It doesn’t need to land perfectly.

07
Proof at Room Temperature
Cover the loaf pan and let the dough rise for 30 minutes while you preheat your oven to 230°C (445° F) for 30 minutes.
08
Bake the Bread
Uncover the loaf pan and place it on the lower middle rack.
Drop the temperature to 200°C (400°F) immediately and bake for 50-55 minutes.
08
Cool and store
Let the loaf cool down completely in the pan.
Once fully cooled, wrap airtight and store at room temperature for up to 2-3 days.


Baking Timelines
Choose a method that fits your life — whether you prefer a same-day bake or an overnight bulk ferment.
|
Feed your starter the night before so it’s active and bubbly in the morning. | |
|
08:00 AM |
Mill your grains. Mix everything but butter and salt into a shaggy dough. Cover and rest. |
|
08:30 aM |
Add butter and salt. Knead into a tacky dough. Cover and bulk ferment at room temperature. |
|
04:30 PM |
Shape the dough and move it to a loaf pan. Cover and proof at room temperature. |
|
05:00 PM |
Bake Kamut sourdough sandwich bread and leave to cool. |
|
Feed your starter in the afternoon, so it’s active and bubbly by evening. | |
|
10:00 pM |
Mill your grains. Mix everything but butter and salt into a shaggy dough. Cover and rest. |
|
10:30 pM |
Add cold butter and salt and knead into a tacky dough. Bulk ferment at room temperature overnight. |
|
06:30 aM |
Gently shape the dough and place it in the loaf pan. Cover and proof while the oven preheats. |
|
07:00 aM |
Bake Kamut sourdough sandwich bread and leave to cool before breakfast. |
Tips
Customize the recipe to fit your life
How to Serve


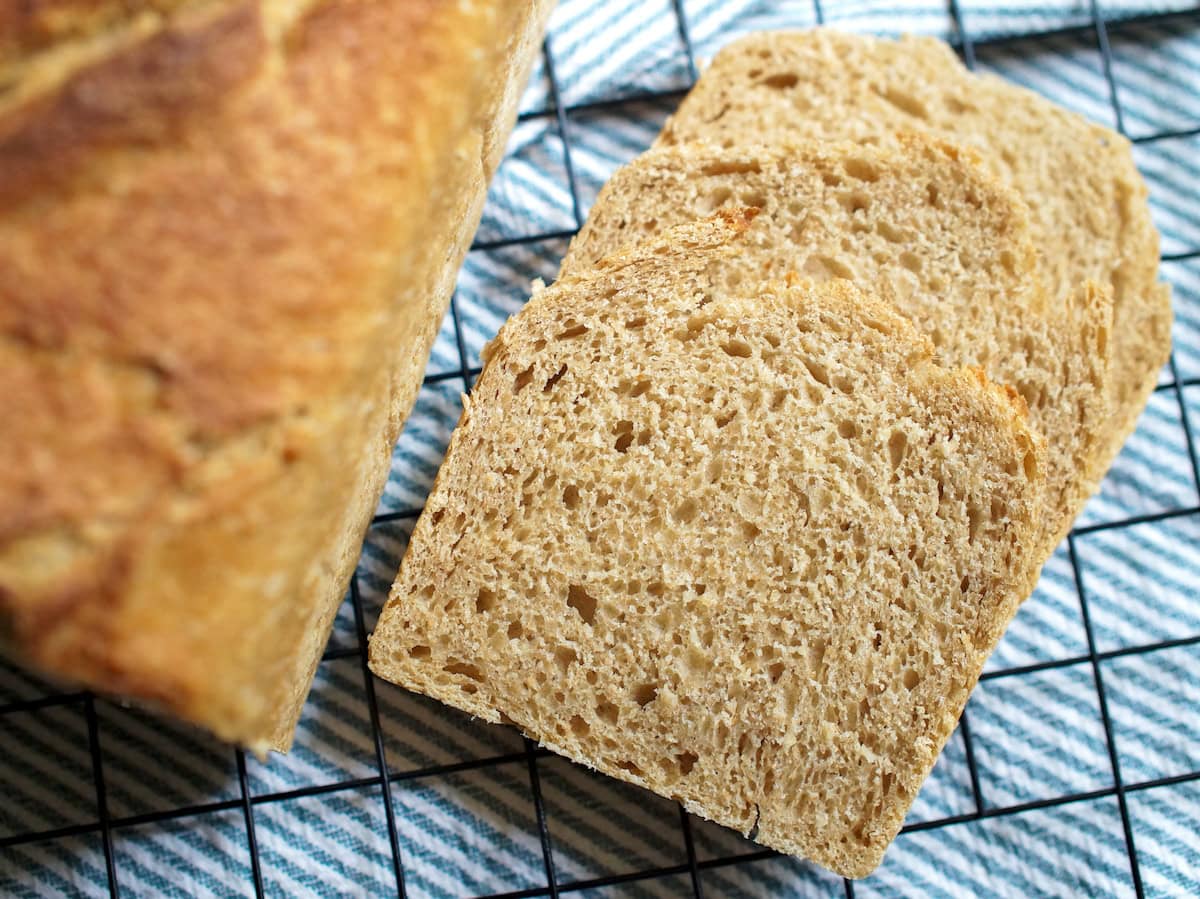
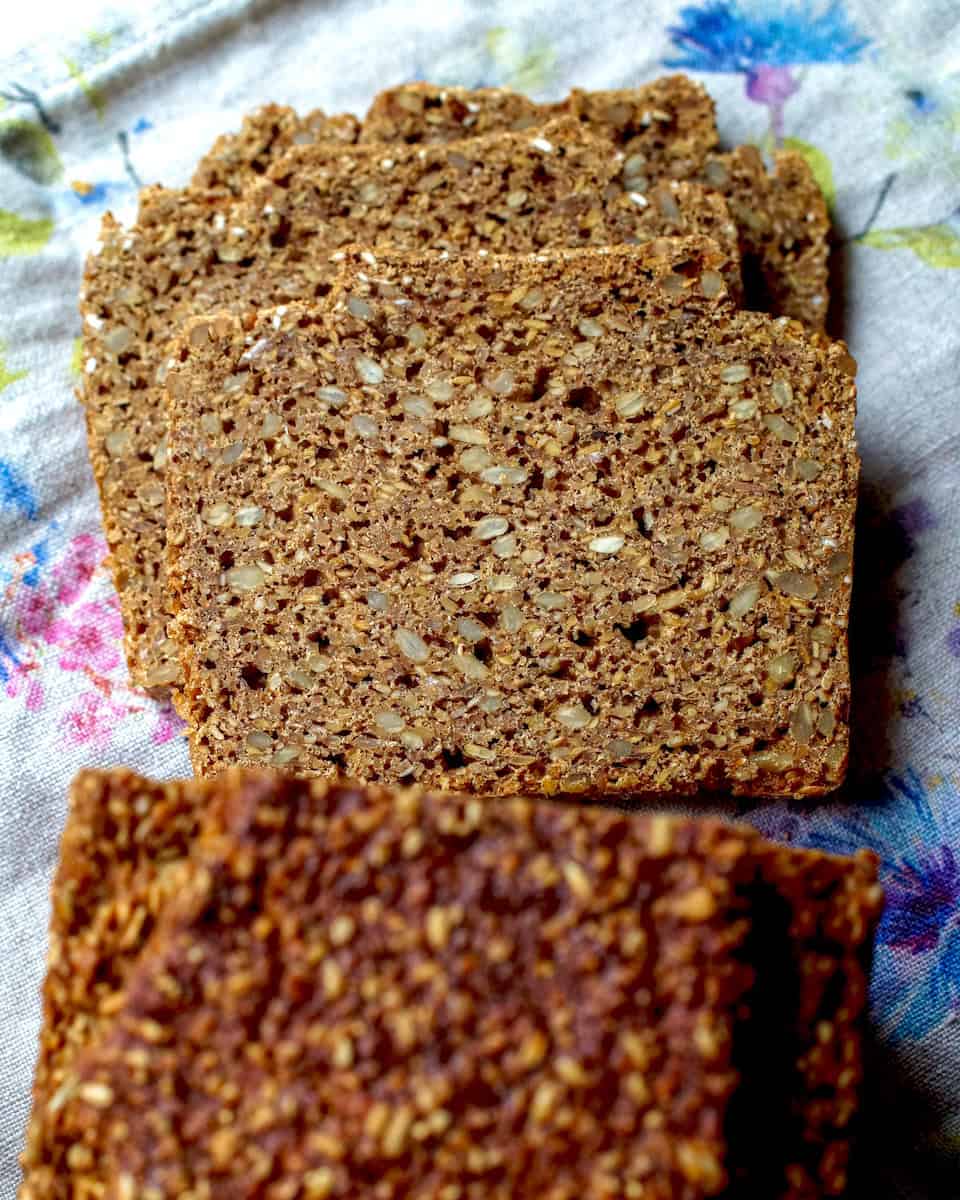
This is a soft but sturdy loaf, I tend to slice it a little thinner than the average sandwich bread. It holds sweet or savoury toppings beautifully, and it really shines when toasted to dark golden-brown, shattering perfection.
Spread it with butter while still warm, and add your favorite toppings. I love topping mine with slices of cheese and cucumber.
It’s equally enticing, cooled down and spread with butter (or cream cheese!) and local raw honey. Finish it off with a sprinkling of Maldon’s sea salt if you’re into the sweet-salty combo (I am!).
Of course, Kamut sourdough sandwich bread is perfect for other classic sweet toppings, like chocolate hazelnut spread, homemade jam (try my Cherry Lime Jam!), or a classic PB&J.
How to Store and Freeze Sandwich Bread for Maximum Freshness
Once fully cooled, store Kamut sourdough sandwich bread in a plastic bag or other airtight container for up to 2-3 days, to keep crust and crumb super soft. If your loaf pan comes with a lid you could also store it in there.
Sandwich bread freezes well, both sliced or whole! Freeze slices individually, that way you can crisp them up in the toaster directly, without needing to thaw an entire loaf. Wrap bread tightly in a plastic freezer bag, removing as much air as possible. If you’re freezing individual slices, separate them with a piece of parchment paper. Sourdough sandwich bread can be frozen for up to 2 months.

If you make this rustic Kamut sourdough Sandwich Bread…
I’d love to hear how it turned out!

P.S. If you’re into sandwich bread, you might love these recipes too:
happy baking!
Rustic Kamut Sourdough Sandwich Bread (With Freshly Milled Flour)

Equipment
- Stand Mixer - (optional but recommended)
- Bench scraper
- Standard Bread Loaf Pan
- or Pullman Bread Pan
Ingredients
Fermentolyse Ingredients
- 355 g water - (71%)
- 120 g active sourdough starter - (24%)
- 20 g honey - (4%)
- 500 g freshly milled kamut flour (or store-bought whole grain) - (100%)
Other Ingredients
- 10 g salt - (2%)
- 56 g butter, cold and cubed - (11%)
Instructions
Mill Grains (Optional)
- Weigh out whole kamut berries and mill on the finest setting of your grain mill.
Mix Fermentolyse Ingredients
- In the bowl of a stand mixer, combine water, active sourdough starter and honey. Add the flour and use the paddle attachment to mix into a shaggy dough. Cover and rest for at least 30 minutes.
Add Salt & Butter
- Add the salt and cold butter. Switch to the dough hook and knead on low for no more than 10 minutes. The dough may stay sticky and not form a ball — that’s fine. Wet your hands and gently shape it into a sticky, smooth-ish ball.
Bulk Ferment
- Cover the bowl and let the dough rise at room temperature until puffy and doubled (6–10 hours depending on ambient temperature and starter strength).
Shape & Place In Pan
- Grease your loaf pan with butter and optionally line with parchment paper.
- Sprinkle your worktop and dough with flour. Wet your hands and gently release the dough from the sides of the bowl. Turn it out onto the counter (smooth side down).
- Fold and roll gently into a loose log. Use a bench scraper to transfer the dough into the pan. It doesn't need to be perfect!
Proof & Preheat
- Cover your loaf pan and let the dough rise at room temperature for 30 minutes, while you preheat your oven to 230°C (445°F).
Bake
- Place your pan into the preheated oven and immediately reduce oven temperature to 200°C (400°F). Bake for 50-55 minutes.
Cool & Store
- Cool in the pan. Once fully cool, store airtight for up to 2–3 days — or freeze for longer storage.
Notes
- Sticky Dough is Normal: Don’t over-flour or over-knead. It’s meant to be tacky.
- Loaf Pan = Forgiving: Helps with structure and takes the pressure off perfect fermentation timing.
- Skip the Second Rise: This recipe skips the classic second proof. Pop the dough straight into the oven after bulk ferment for max oven spring and a rustic rip on top.
- Adjust Shape if You Like: For a taller, domed loaf and a more “classic” sandwich shape, allow a second rise until the dough reaches the lip of the pan before baking.
- Steam for Better Crust: Toss a few ice cubes in a hot tray at the bottom of the oven to create steam during the first few minutes of baking.
- Cool in the Pan: This helps maintain a soft crust. Or remove from the pan after 50 minutes and return to the oven for 5-10 minutes for crispier sides.
- Use Active or Cold Starter: The recipe uses active starter, but fridge-cold starter works too if used within a week of feeding.
Recipe FAQs


)
Yum! Looks delightful!
Thank you Megan! It’s super easy to make, too 🙂