
How to Bake with Freshly Milled Flour
Milling flour at home is the easy part. Learning how to bake with your freshly milled flour takes a little more time to get right. Fresh flour made from whole grains doesn’t behave quite like refined, store-bought flour. It won’t even behave exactly like store-bought whole grain flour. Let’s take a look at some of the most important adjustments you’ll need to make when making the switch to using fresh flour in any recipe!

1. Adjusting Expectations When Baking with Fresh Flour
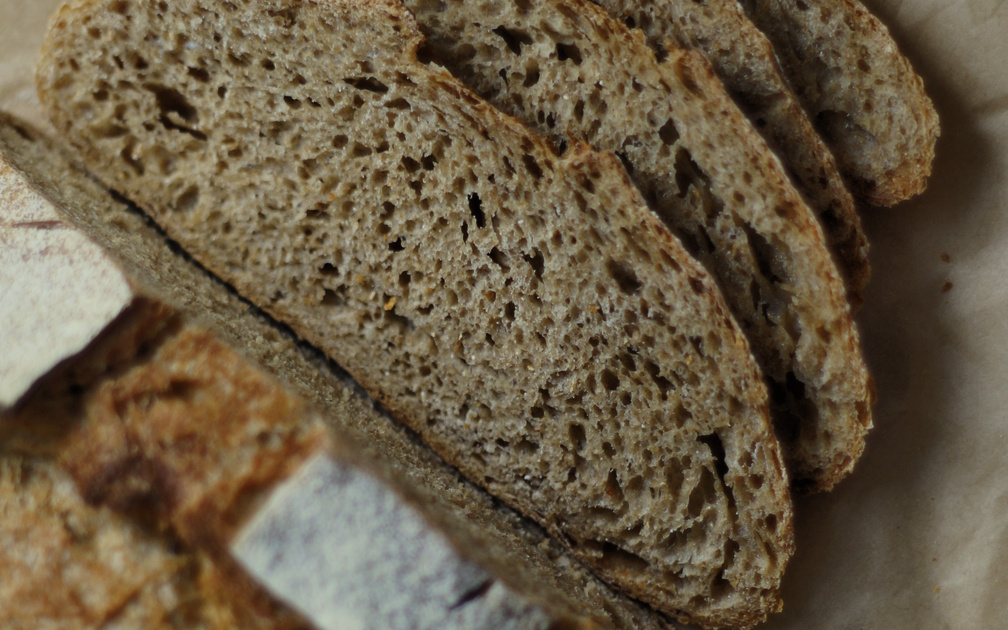
Let’s begin with the most important adjustment: your expectations of the final product. Fresh, whole grains add a distinct character to your baked goods. You can expect a denser, tighter crumb, a slightly darker hue, and a bit less rise. But don’t let that intimidate you!
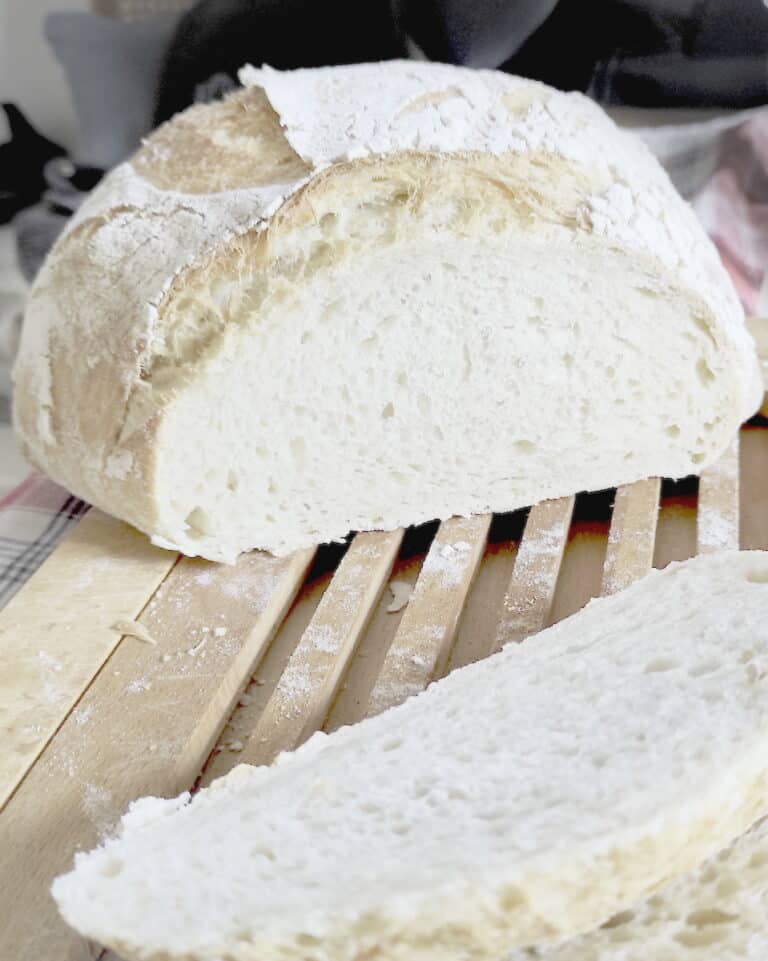
Don’t let words like dense and tight mislead you though — they tend to conjure images of a dry, heavy loaf. Bread made from fresh flour is nothing like that! It can still be soft and plush. The only real difference is that it will have a more consistent crumb with smaller holes. In fact, this is the more traditional style of bread, especially in Europe. Bread with a more even crumb is actually more common here than the airy, “artisan” loaves you see on social media. While it might look a little different than what you’re used to, the flavor of a fresh flour bread will be so much richer. (And seriously, how do you even eat those slices with the big holes…?)
2. How To Replace White Flour with Fresh Flour
Here’s the big question that everyone asks when they start baking with freshly milled flour: Can you just swap it 1:1 for regular white flour in your recipes? The short answer is: it depends. If you’re measuring by weight, you can easily make the swap without any major changes. But if you’re sticking to traditional cups and spoons, things can get a bit trickier — and here’s why.
Replacing White Flour by Weight
Switching to weight-based measurements may seem daunting, but it’s worth it! When measuring by weight, you can replace white flour with fresh flour 1:1 and adjust liquids as needed (more on that in a second).
If the original recipe measures by weight, swapping is easy and accurate. Just replace the given amount of refined flour with fresh flour.
If the recipe measures ingredients by volume, aim for 130-140g of fresh flour for every cup of white flour. This is a good starting point when converting recipes. Every recipe creator measures differently but most of them mention their approach (i.e. fluff, spoon and level or dunk and level). Even then, cup measurements remain a bit of a guessing game. So if something feels off, it probably is.
Also, when replacing flour by weight, use weight-based measurements for all ingredients wherever it makes sense, to account for the variance in measuring cups. (It’s fine to still use tsp and tbsp.)
Replacing White Flour by Volume
If you’re sticking with volume measurements, fresh flour tends to be lighter and fluffier when freshly milled, meaning you’ll get slightly less flour by weight. Combine that with the fact that every recipe creator measures differently and you will have no way to get an accurate swap without experimentation. It will be hit and miss.
3. Why Fresh Flour Needs More Liquid (And How to Adjust)
Store-bought flour—whether it’s whole grain or refined—has been aged before it even hits your kitchen. That aging process lets it oxidize, which helps it trap gas better, giving your dough more strength and elasticity. But it also means it doesn’t absorb as much liquid.
Freshly milled flour, with all its bran and germ, is a bit more “thirsty.” Depending on your recipe and the grain you’re using, you might need to add a little extra liquid to get the right dough consistency. Start by adding about 5–10% more liquid when using freshly milled flour in place of refined white flour. Then adjust as needed. Humidity and even how finely your flour is ground can affect how much liquid is needed, so always trust your senses and adjust accordingly.
When replacing whole grain flour, I like to start without adding extra liquid. Instead, I mix the flour with the liquid ingredients (including fats and eggs) and let it sit for 30 minutes. This gives the flour time to properly hydrate. If it still feels too dry after that, then I’ll add a bit more liquid.
Understanding How Different Grains Absorb Liquids
Different grains vary a lot when it comes to liquid absorption, so the outcome will depend not just on the flour your recipe was written for, but also on the variety you’ve chosen for milling.
For instance, American hard wheat (not durum wheat!) has a higher gluten content and can absorb more liquid, while soft wheat (like what we use in Europe) doesn’t rise as much and absorbs less liquid.
So if you’re trying to replace bread flour (made from hard wheat) with freshly milled soft wheat for example, you might still need to add less water, because soft wheat is less absorbent overall!
In short: When replacing white flour with freshly milled flour, pay attention to the type of flour your recipe calls for, and consider the grain you have on hand. This will help you adjust liquids and get the best results.
If you’re baking bread, hydration gets a bit more technical — especially for sourdough. We’ll dive into that in section 5.
4. Sifting For Lighter Results
If you’re aiming to replicate the lighter, fluffier texture of baked goods made with all-purpose flour, one option is to sift your freshly milled flour. Sifting —sometimes also referred to as “bolting”— removes the bran and can result in a softer texture. This somewhat defeats the purpose of milling your own flour in the first place—especially if you’re trying to retain the full nutritional value of the whole grain. Some bakers like to boil their sifted bran and use it as a soaker for bread, but I have never found that step to be necessary.
If you want to bake something fluffy and fancy for a special occasion, you can of course sift your flour. I wouldn’t recommend it as a regular practice though because even if you do sift, the result will still be a little heartier. Whole grain flour just has a denser, richer texture, and that will come through regardless. Also the nutrients in the bran start degrading after a short while, so it’s best to use it right away. So if you’re craving something super light and fluffy, spare your bran. Reach for the all-purpose and enjoy.
5. Baking Sourdough Bread With Freshly Milled Flour
Sourdough baking with freshly milled flour brings out its best flavor — but it also comes with a few “extras”.
Fresh flour absorbs water more slowly, and behaves differently depending on the grain. Hard wheat can soak up more liquid and build strong gluten, while softer or ancient grains might require gentler handling and less hydration.
With freshly milled flour, fermentation tends to move faster. That means you’ll need to pay closer attention to timing, dough strength, and hydration adjustments.
Let’s walk through the techniques that make a difference.
Suggested Hydration for Common Fresh Milled Grains (Sourdough Bread)
Here’s a starting point for whole grain hydration in sourdough bread doughs. These ranges assume a finely milled flour and typical fermentation length — always adjust based on feel and flour behavior.
|
Grain |
Recommended Hydration |
|---|---|
|
Hard Red/White Wheat |
75–85% |
|
Soft Wheat (European Wheat) |
70–80% |
|
Spelt |
65–75% |
|
Rye (Whole) |
80–90% |
|
Kamut |
68–80% |
|
Einkorn |
65–70% |
Note: These hydration ranges use baker’s percentages, meaning the flour is always considered 100% and the water is calculated as a percentage of that amount. Start on the lower end of the range and adjust upward after your autolyse or fermentolyse rest, based on how your dough feels.
All-purpose flour is usually a blend of soft and hard wheat. Bread flour is almost entirely hard wheat. Both absorb a lot of water—especially compared to soft wheat or ancient grains.
When you’re using soft wheat (even freshly milled!), you might need to reduce the amount of water, not increase it. This is especially true if your dough starts to spread or slacken unexpectedly.
If in doubt, start with less—your dough will tell you what it needs.
Why Autolyse and Fermentolyse Matter
Autolyse is a simple pause—just flour and water, mixed and left to rest before adding starter and salt. It gives the flour time to hydrate more fully and gently kickstarts gluten development.
While it doesn’t make a huge difference with store-bought flour, I find it especially helpful when baking with freshly milled grains. Fresh flour absorbs water more slowly and unevenly, so this rest period helps the dough come together more predictably later on.
A short autolyse—just 30 to 60 minutes at room temperature—is usually enough. After that, it’s much easier to assess whether or not your dough needs more water. Some bakers prefer to autolyse longer (even up to 24 hours in the fridge) but in most cases, a shorter time is more than enough to do the trick.
No matter if you’re working with a sourdough recipe or not, freshly milled flour will always benefit from a resting period. It will be a lot easier to assess whether the dough or batter needs more liquid or not afterwards.
If it’s a sourdough recipe, I prefer fermentolyse which is the same idea but with your starter already in the mix. Sourdough is a lengthy business so you might as well give your starter a head start.
Speed of Fermentation — Quicker Rise Time with Fresh Flour
Freshly milled flour isn’t just more flavorful—it’s also more active.
Because it contains the whole grain (bran, germ, and endosperm), it offers more nutrients for your starter to feed on. That, plus the residual warmth from milling, can noticeably speed up fermentation.
What to watch for:
- Shorter bulk fermentation: Your dough might double more quickly than you’re used to.
- Faster proofing: Loaves can overproof if left too long, even in the fridge.
- Unexpected spreading: If your dough loses strength during proofing, it may slacken or flatten in the oven.
Tip: If your dough is rising faster than expected, reduce proofing times or use slightly cooler water to slow things down next time.

Building Dough Strength
Store-bought flour has gone through an aging process that makes it easier to develop a strong gluten network. In freshly milled flour, however, the enzymes are still active, “predigesting” and breaking down gluten. That means you’ll need to work a little smarter to build a dough that can stand up to long fermentation and sharp bran edges.
To build dough strength with fresh flour, consider kneading more in the initial stages. Kneading helps oxidize the dough, compensating for the lack of aging in fresh flour:
Either way, you’ll need to get to know your fresh flour to figure out whether your usual (no-)knead method will work — or whether your dough could use a little extra help early on.
6. Long Fermentation vs. Freshly Milled — Which Is Healthier?
If you’ve been diving into the world of sourdough, you’ve probably heard that long fermentation is key to better digestibility and nutrition. But does it really matter if you’re baking with freshly milled flour?
Freshly milled flour, with its active enzymes, is already more digestible than refined flour, even without long fermentation. So when you bake with freshly milled flour, long fermentation might not be necessary to get a better-quality, more digestible bread than you would with store-bought flour.
Of course, if you do choose a longer fermentation, you’ll still benefit from increased nutrient availability and improved digestibility thanks to the natural acids and enzymes produced during sourdough fermentation.
So if you’re short on time, don’t stress. Fresh flour already gives your bread a big head start on the health front.
7. Fresh Milled Bread Recipes From The Grains & Greens Kitchen
If you’re ready to put your flour to work, these are great places to start:
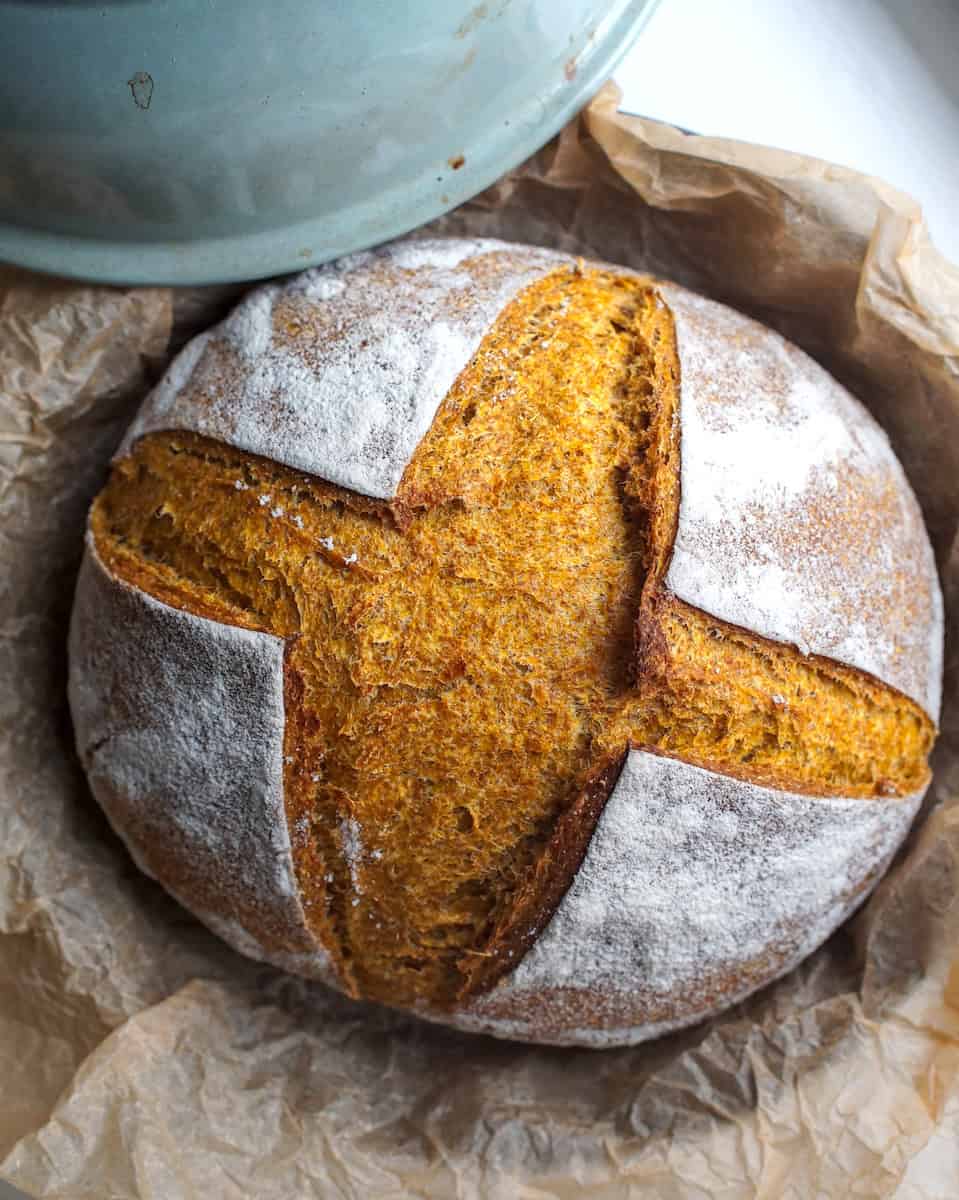
Authentic German Black Bread (Dark Multigrain & Seed Bread)
A great recipe to explore all the settings on your grain mill! Finely milled flour, coarsely cracked grains and a generous handful of mixed seeds meet in this no-knead, no-wait recipe, that rises and bakes at the same time.
Soft Wheat Sourdough Bread (European-Style, Whole Grain)
My go-to bread recipe for using fresh milled soft wheat and ancient grains. Simple, nourishing, and full of flavor.
Easy Whole Wheat & Einkorn Sourdough Sandwich Bread
A great introduction to baking with soft wheat and ancient grains. This recipe combines soft wheat with einkorn for easy handling and deep, earthy flavor.
Explore More Bread Recipes From the Grains & Greens Kitchen — mostly fresh flour


Conclusion
Whole grains are a nutritional powerhouse. Once you have learned how to bake with freshly milled flour, you will be rewarded with better tasting bakes and a happier gut. Remember, the more you bake with fresh flour, the more you’ll learn what works for you and your kitchen. So start simple, experiment, and enjoy the process!
Got questions, Successes, or a loaf you’re proud of?
Drop me a comment or tag me on Pinterest! I’d love to hear how fresh flour is transforming your baking.


3 Comments