
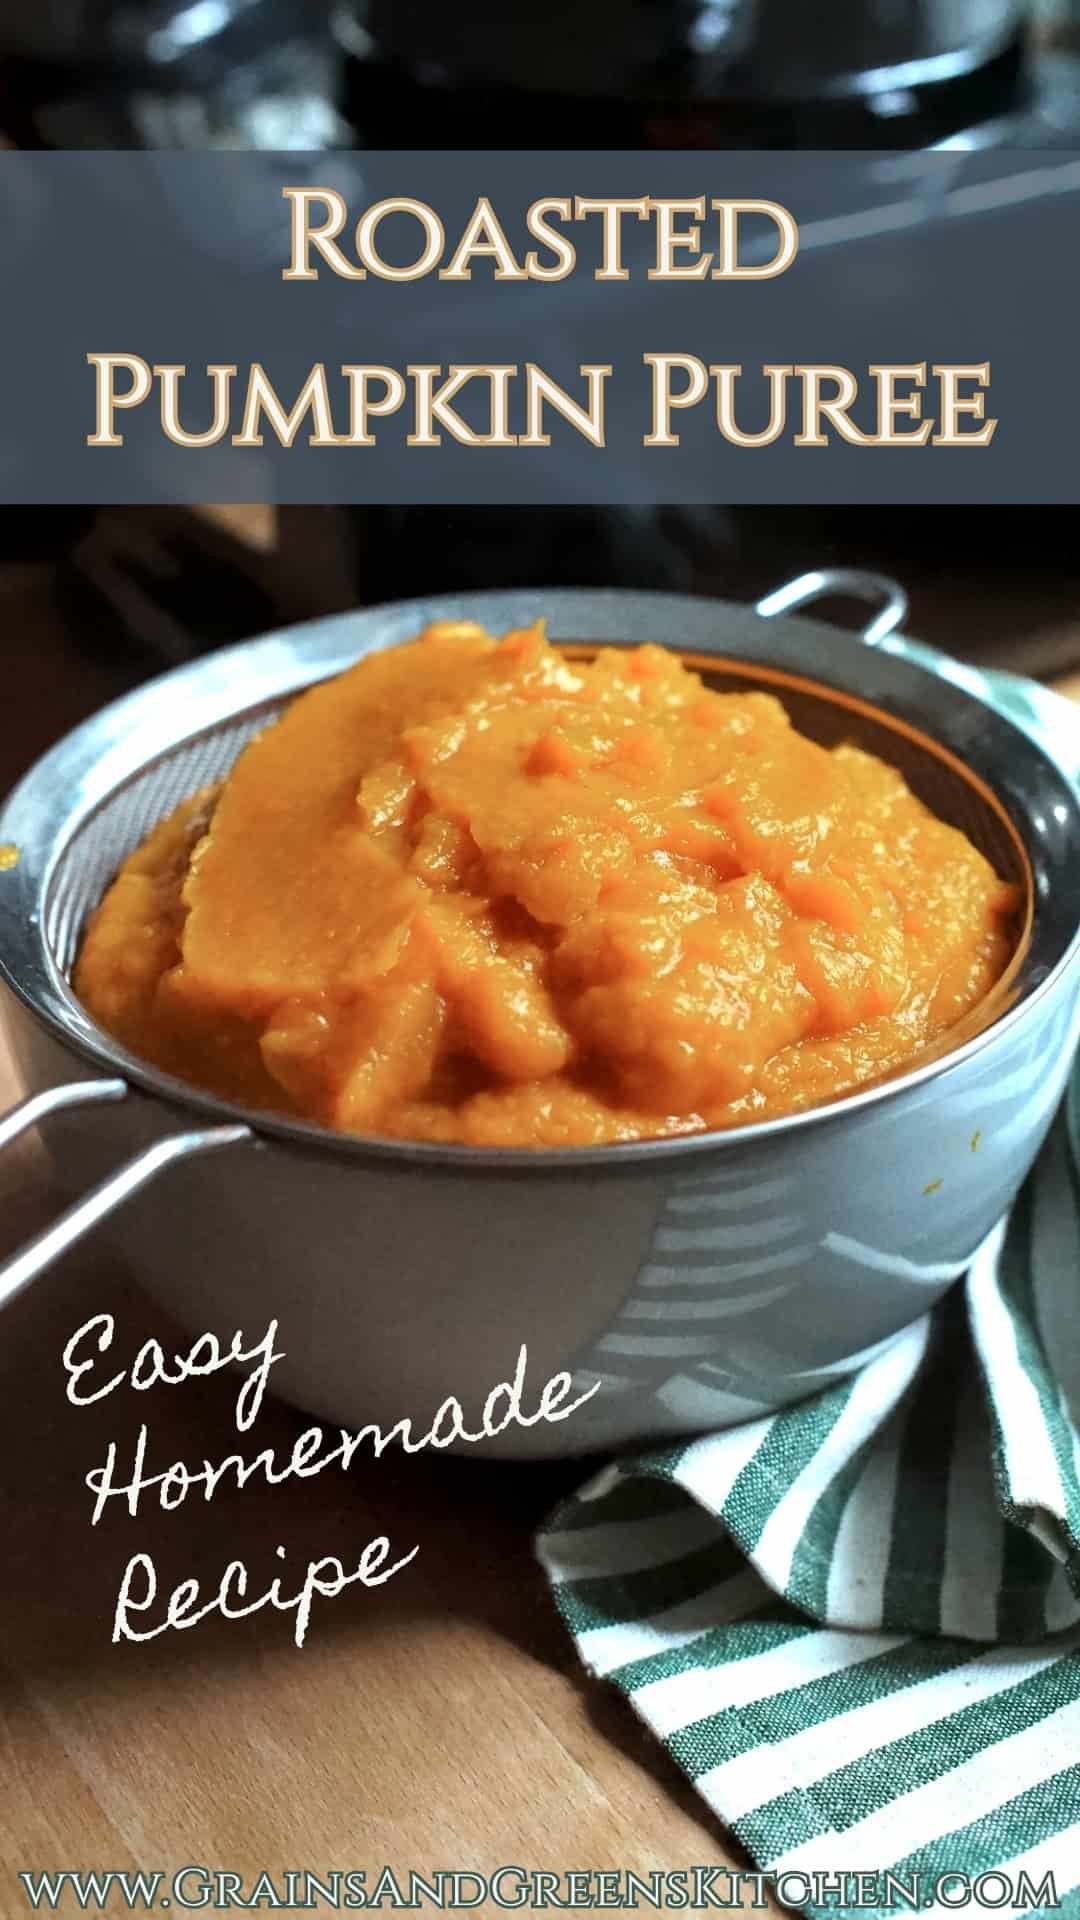
Homemade Roasted Pumpkin Puree
Make your own roasted pumpkin puree with just one ingredient! Use it in your favorite fall recipes for better-than-canned flavor and color.
This post may contain affiliate links. If you click through and make a purchase, I may earn a small commission at no extra cost to you. As an Amazon Associate, I earn from qualifying purchases.
I’ve been making my own roasted pumpkin puree for a decade. Partly, because it’s easy, mostly hands-off and crazy delicious. But mostly because, here in Germany, canned pumpkin puree doesn’t exist. Our loss, really.
I did order canned pumpkin online once. It was convenient, but also a bit of a letdown. Once you get used to the taste of homemade roasted pumpkin, the canned stuff pales in comparison.
In recent years, pumpkin baking recipes have become increasingly popular, even here. Pumpkin pie spice has already made its way to our shelves, so maybe it’s just a matter of time before canned pumpkin follows.
But even then, I’ll keep making my own. It’s budget-friendly, keeps beautifully in the freezer, and skips the BPA that they keep finding in canned products. Honestly, it’s one of the easiest, most rewarding staples to make in your own kitchen.
Why You’ll Love This Recipe
Best Varieties for Pumpkin Puree
Good news: any pumpkin you like the taste of can be turned into puree!
What pumpkins (or squashes) are best for turning into puree will depend on your taste preferences and what’s available to you.
I prefer starchy varieties, like hokkaido or sugar pumpkins, kabocha or acorn squash.
Starchy pumpkins make a thicker puree. They have less liquids, so you end up with more puree after draining.
That being said, some watery squashes, like butternut or musquee are widely available and they make a delicious puree! You’ll just have to drain them a lot and the yield will be a little less.
If you can, choose a variety with edible peel, it will help to thicken the puree even more.
How to Use Homemade Roasted Pumpkin Puree
You can use roasted pumpkin puree in any recipe that calls for canned pumpkin puree.
If your recipe is very sensitive to additional liquids, see if you can hold back a little of whatever other liquids the original recipe calls for and only add the rest if the dough or batter needs it.
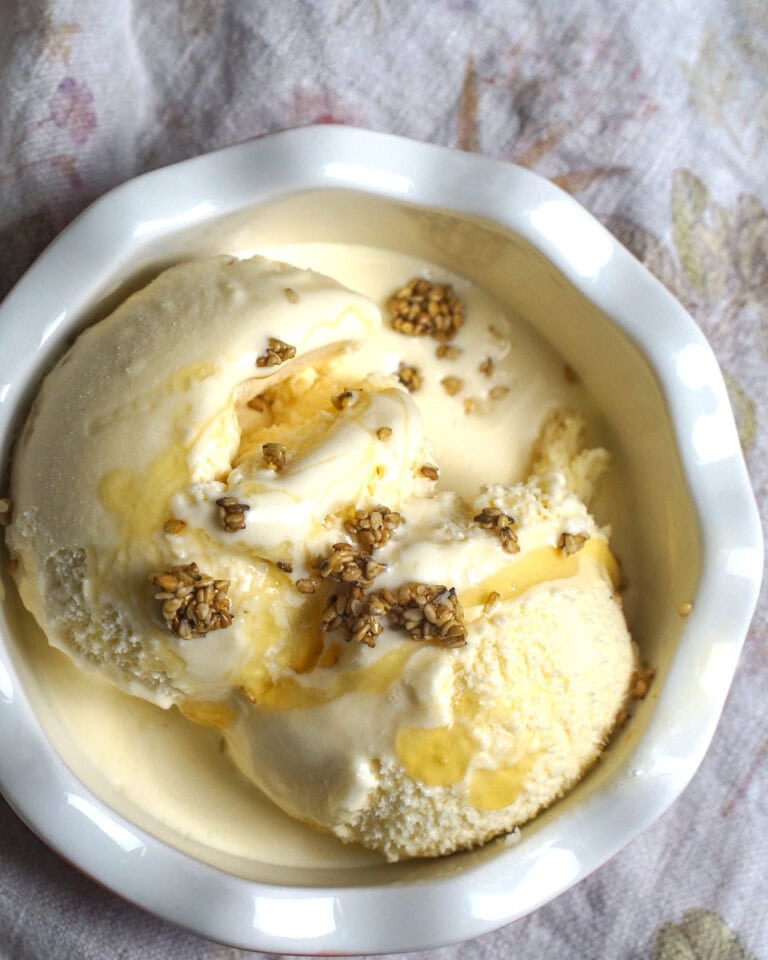
These are my favorite recipes to make with roasted pumpkin puree:
Tools You May Need
Food Processor or Powerful (Immersion) Blender — The easiest way to get perfectly smooth pumpkin puree.
Fine Mesh Sieve — To drain the liquids from the puree.
Large Bowl — To catch the liquids.
Plastic Wrap — To wrap around the sieve and bowl, if you want to drain the puree overnight in the fridge.
Cheesecloth or Clean Tea Towel (optional) — If your sieve does not have a very fine mesh, a cloth will prevent any puree to seep through.
Reusable Silicone Freezer Bags — For stashing pumpkin puree in the freezer. I’ve used (and loved!) these ones for years.
How to Make Roasted Pumpkin Puree
01
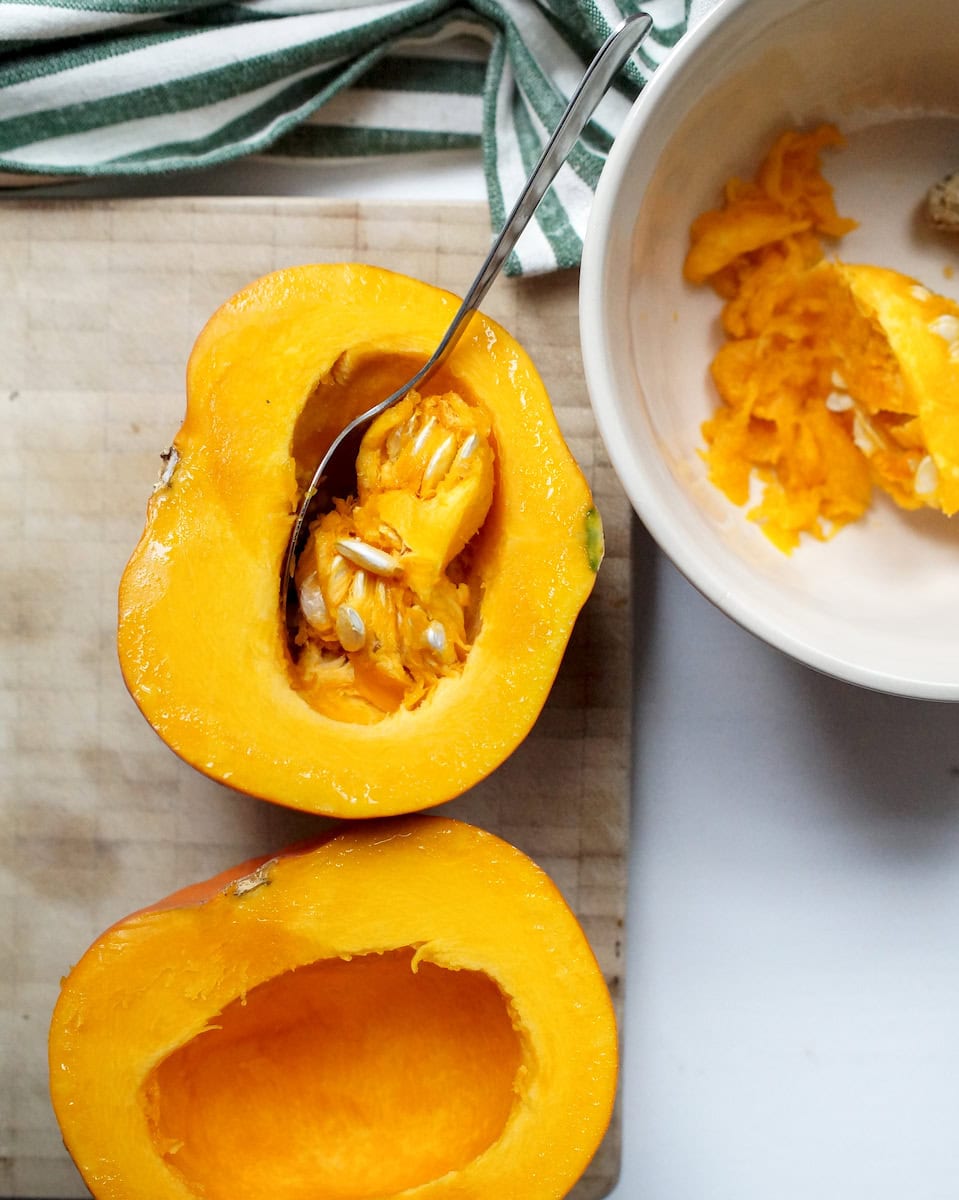
Prep Pumpkin
Preheat oven to 200°C (400°F).
Cut pumpkin(s) down the middle. Scrape out all of the seeds and stringy bits.
If the peel is edible, scrub it well before roasting.

02
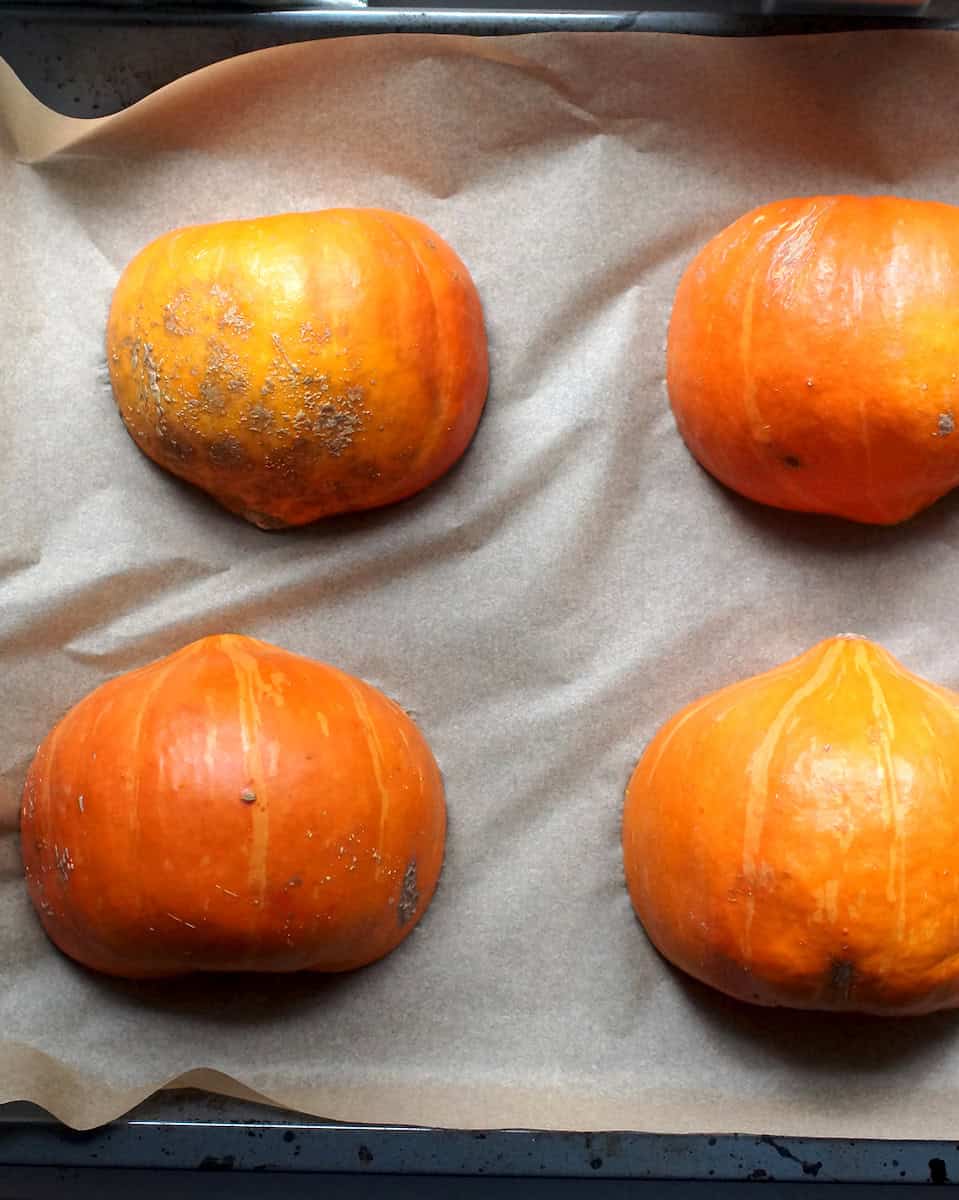
Roast Pumpkin
Place cut side down on a baking sheet, lined with baking paper.
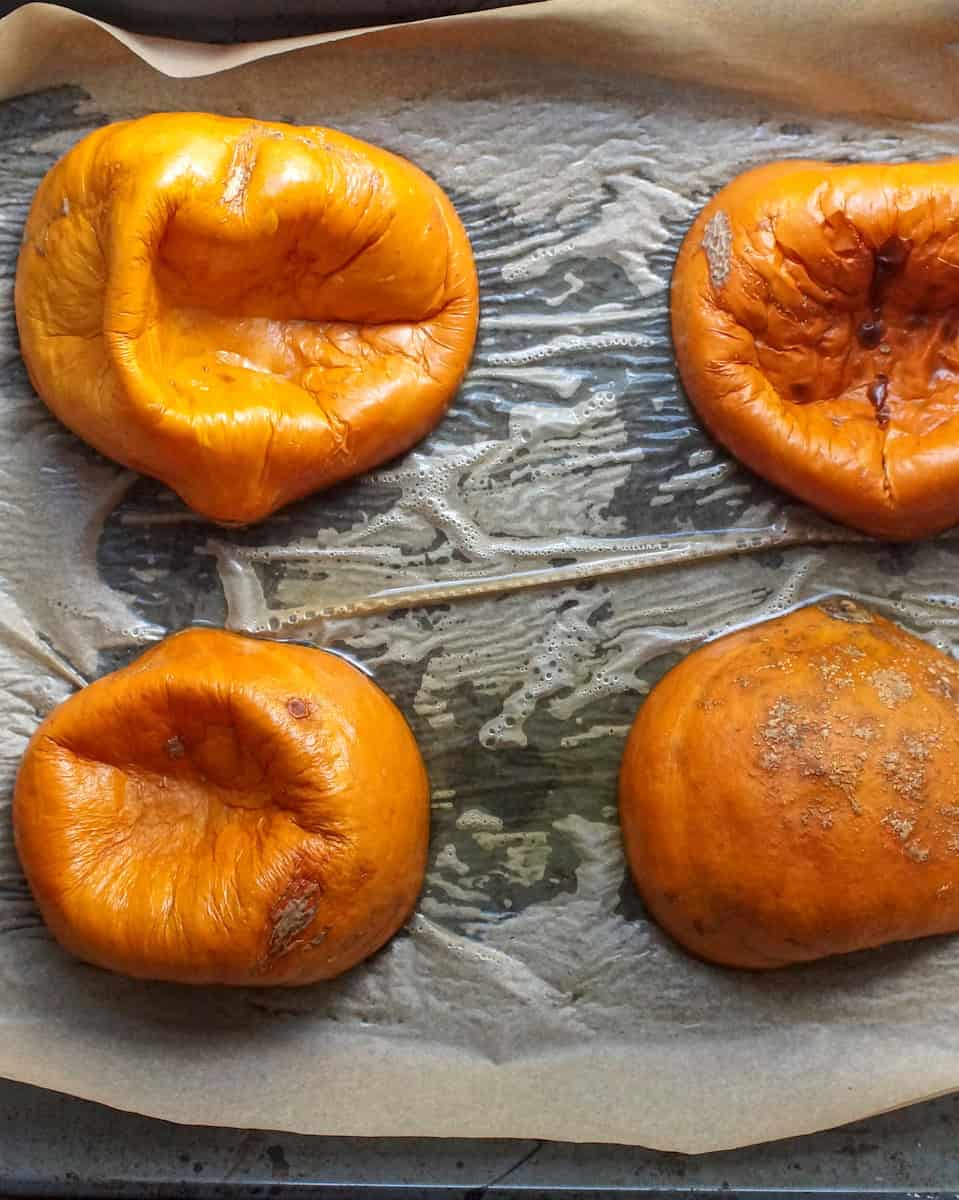
Bake for 30-50 minutes, or until you can easily pierce the pumpkin with a knife.
Set aside until cool enough to touch.
03
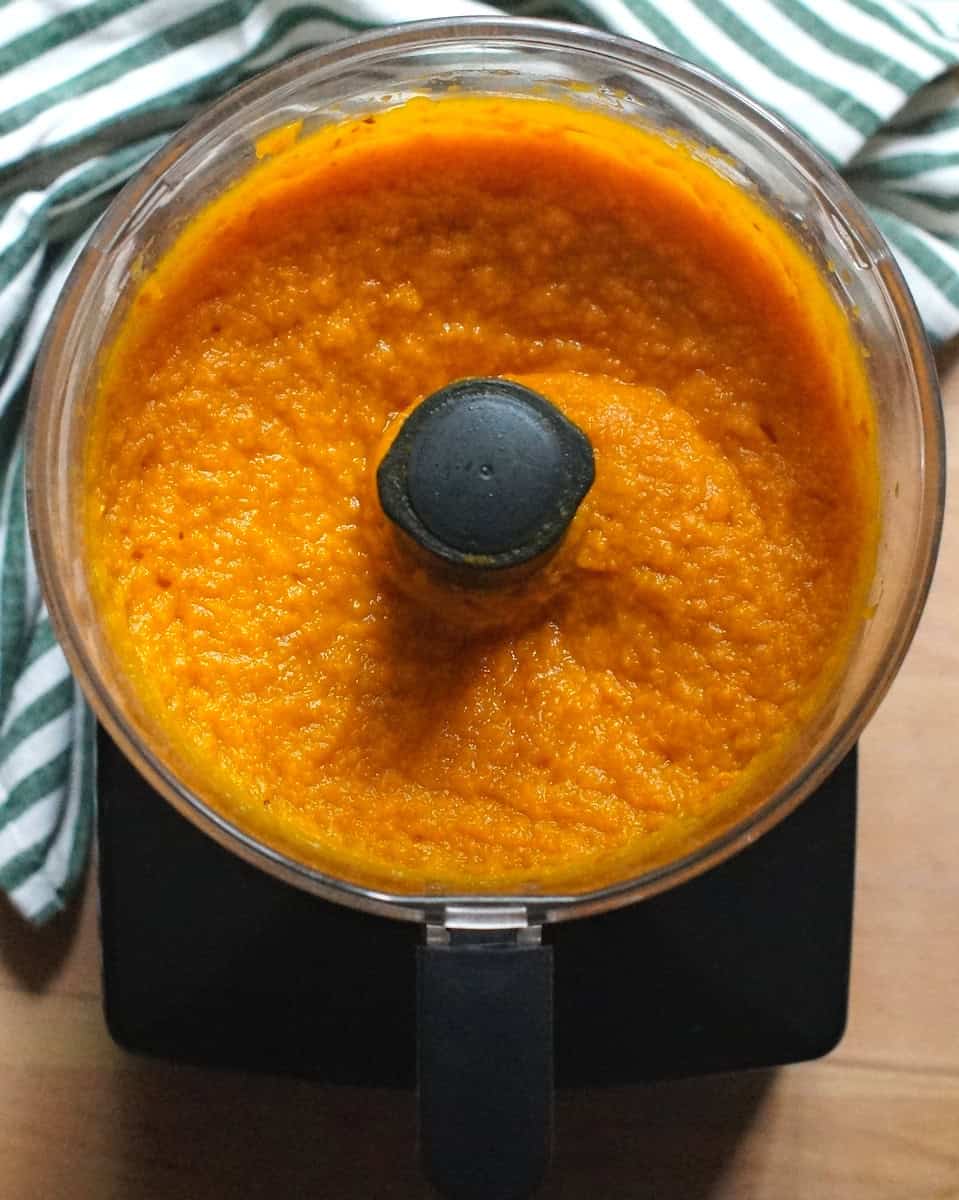
Blend Pumpkin
Transfer the roasted pumpkin pieces to a food processor or powerful blender.
Blend until completely smooth, and no chunky bits remain.

04
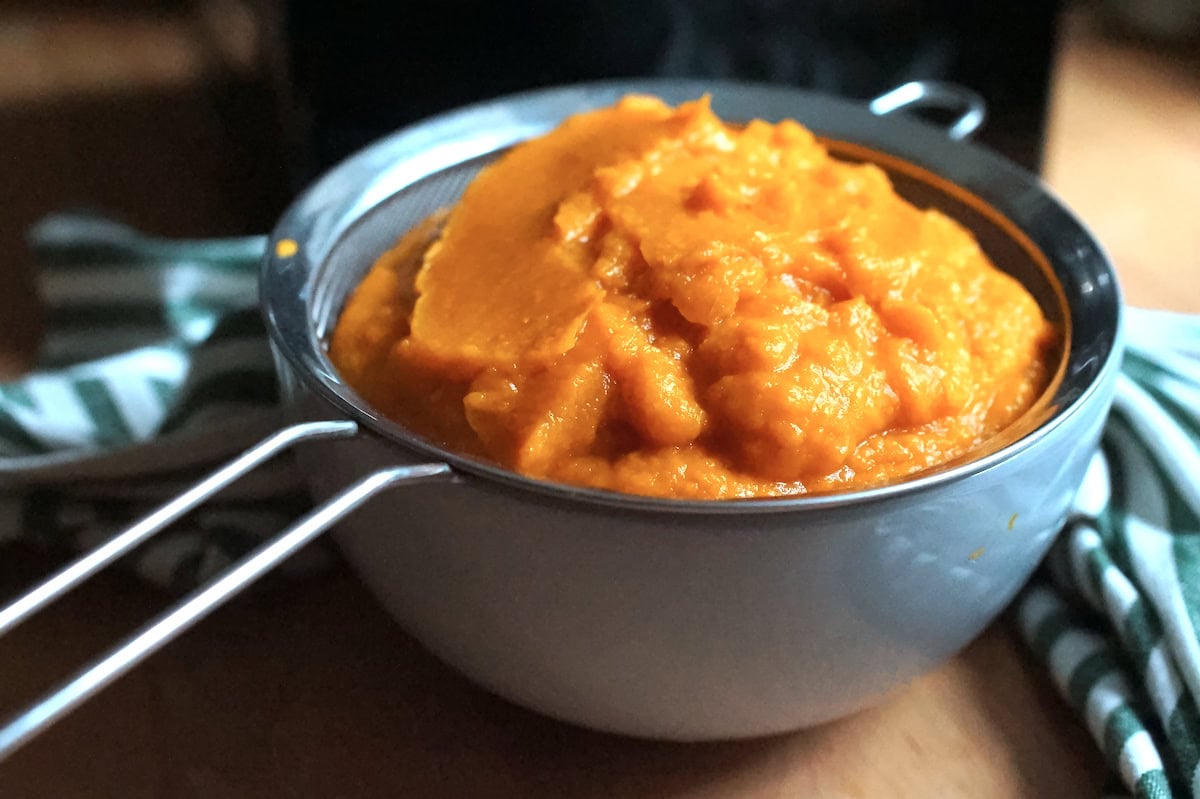
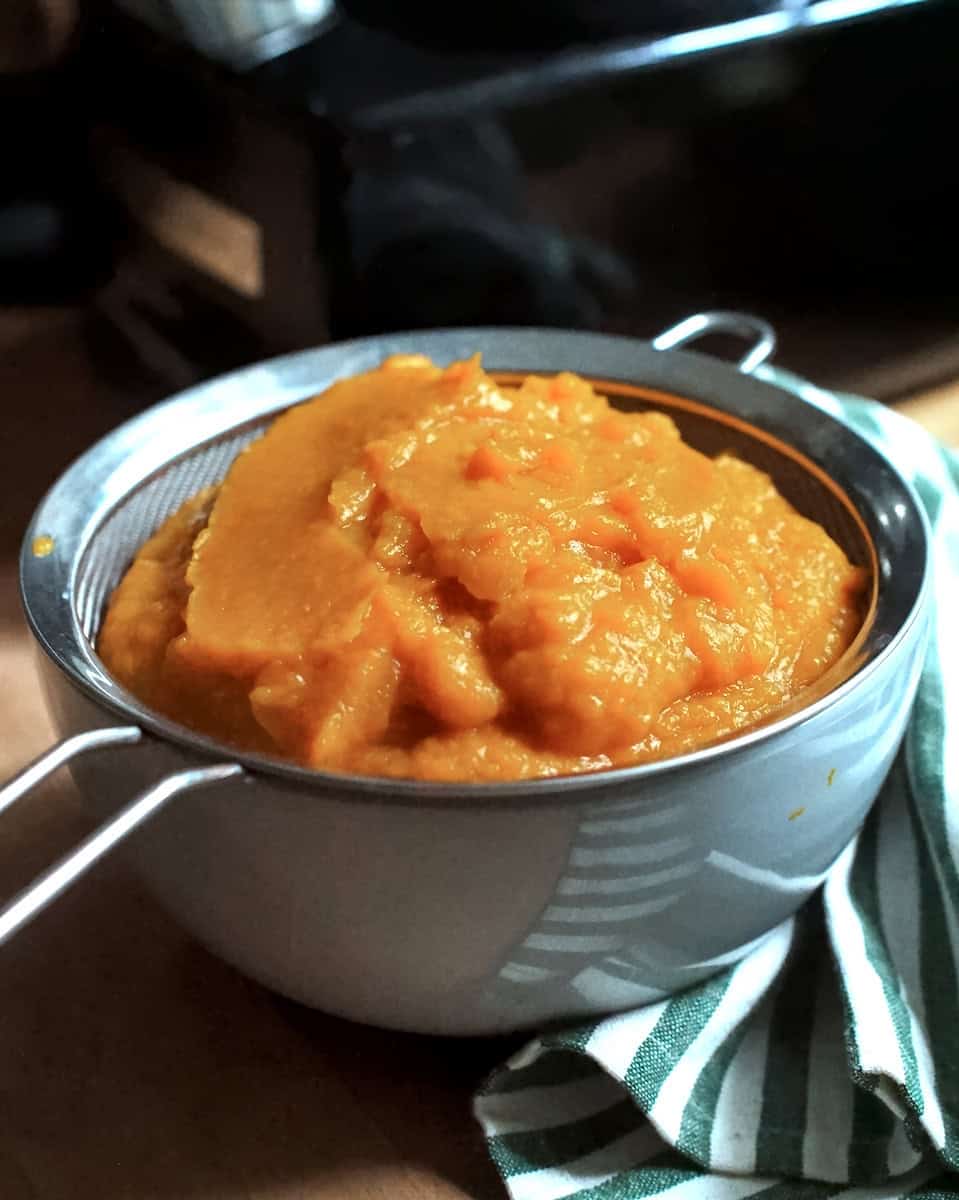
Drain Pumpkin
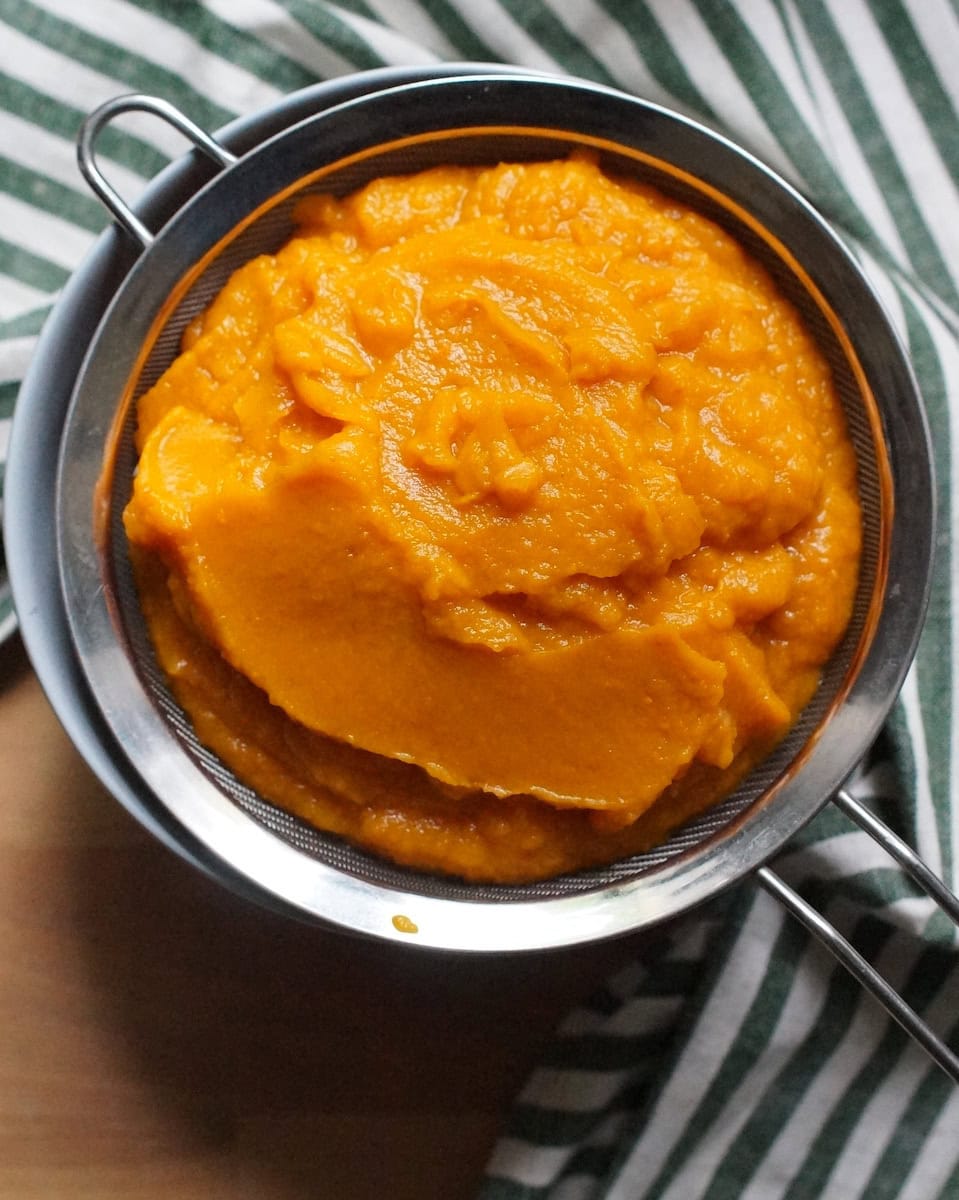
Set a fine mesh sieve over a bowl and scoop in the pumpkin puree.
Drain the puree for at least 2 hours. If necessary, wrap the bowl and sieve in plastic wrap and drain overnight in the fridge.

05
Freeze Pumpkin
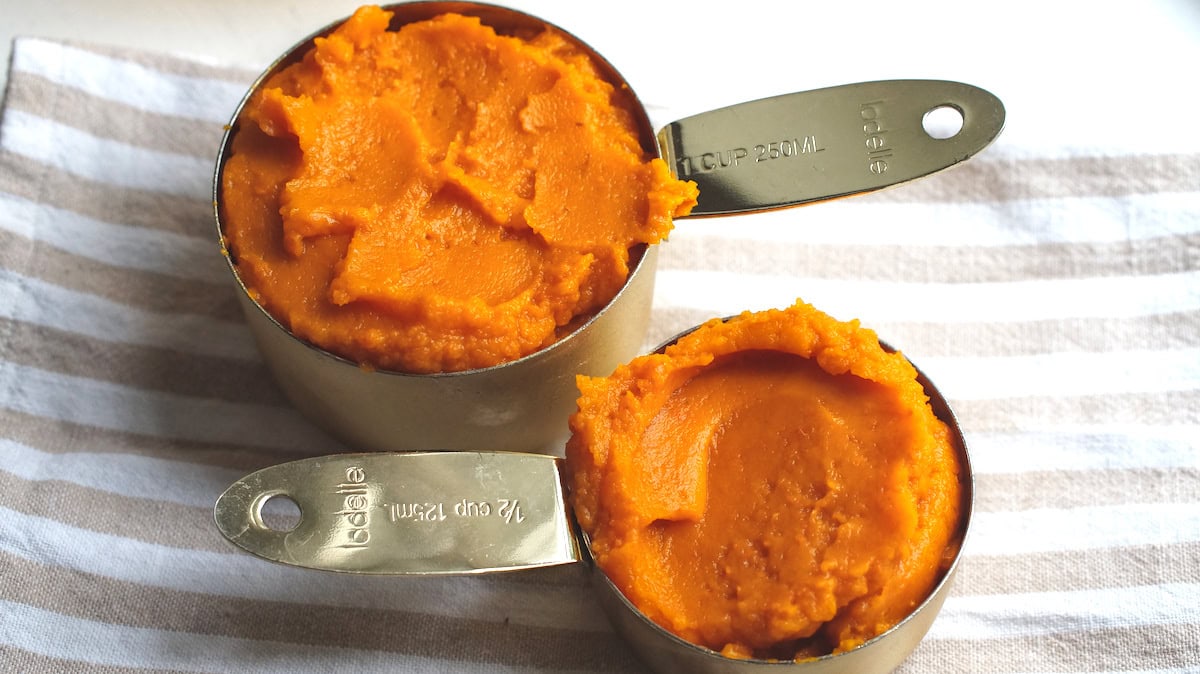
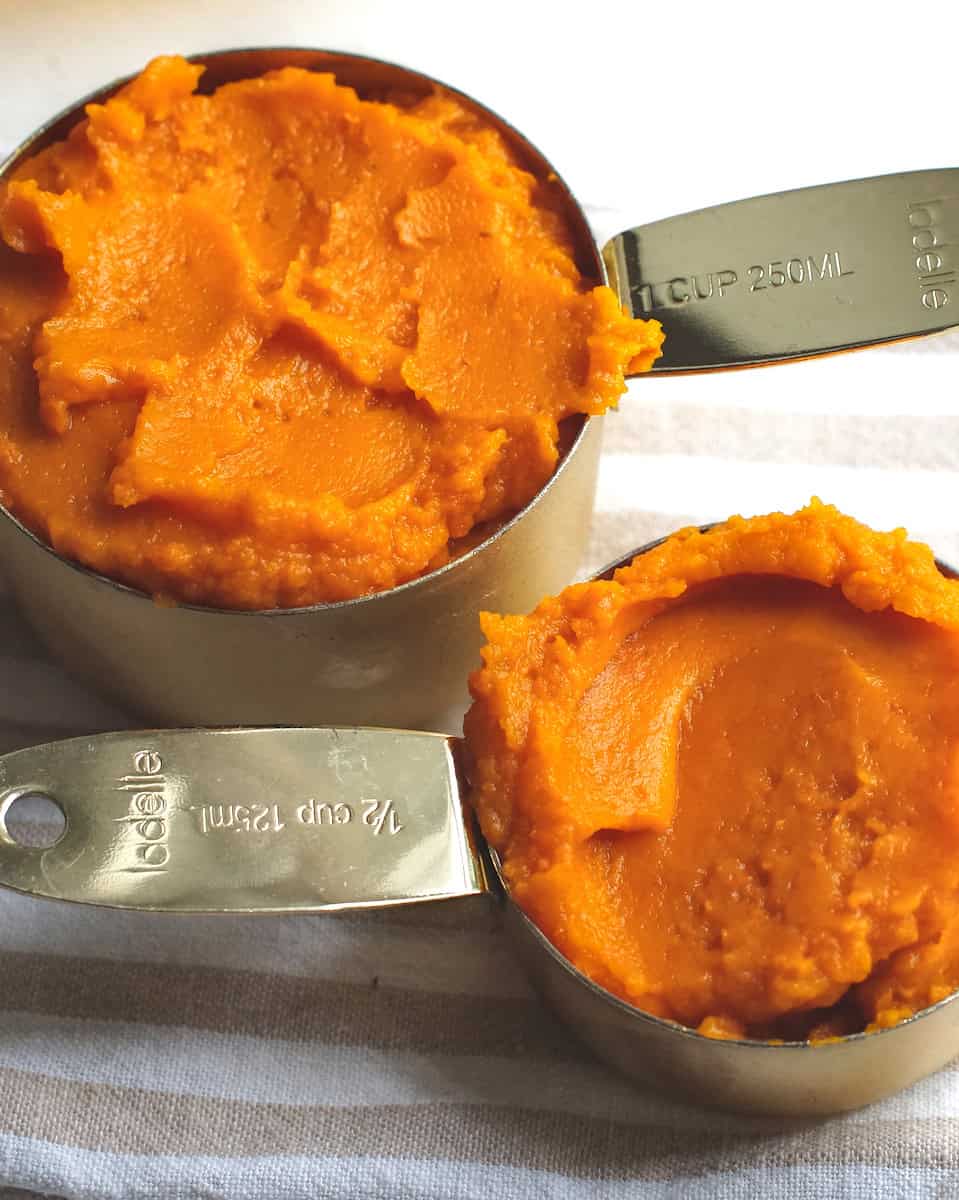
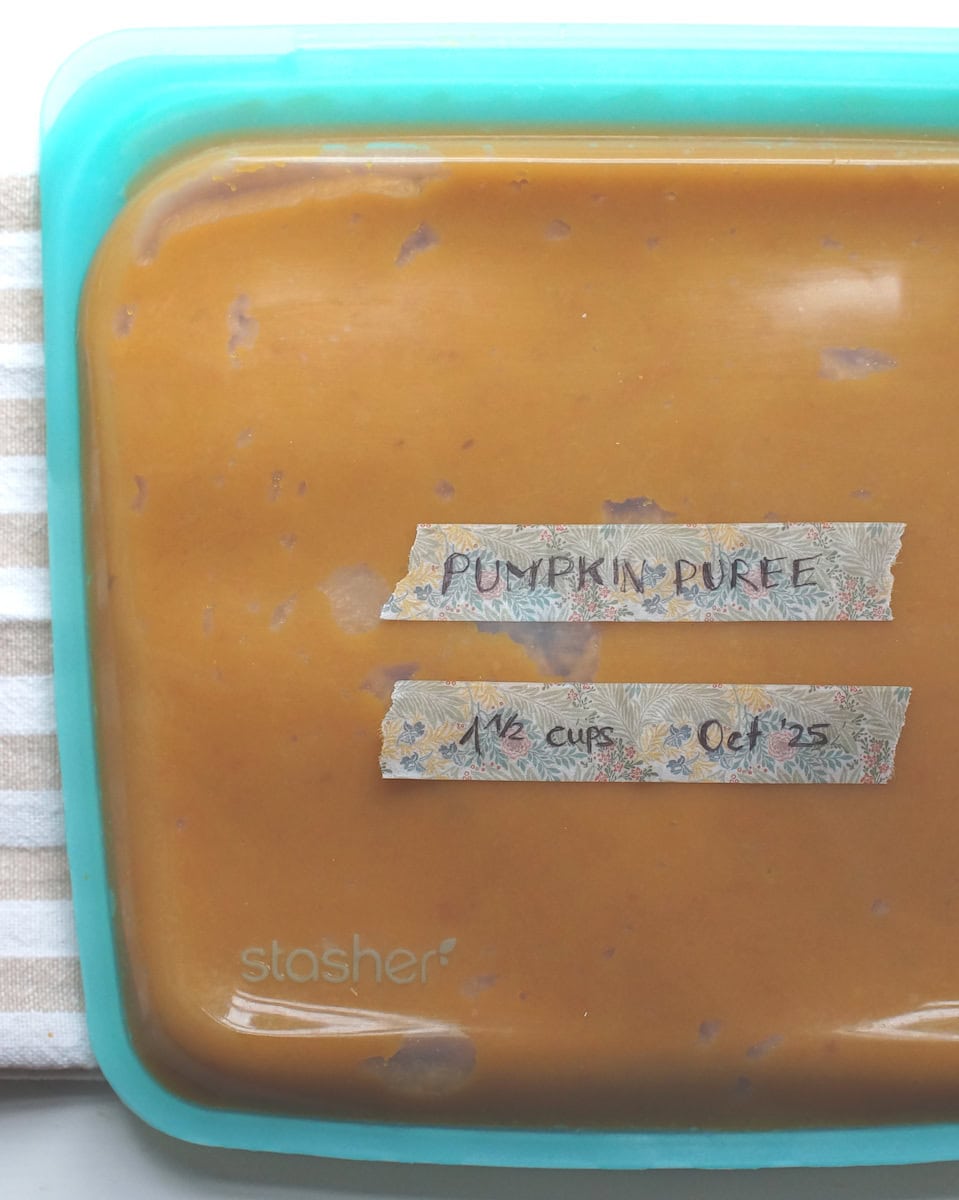
In the morning, collect any liquids you drained overnight. Freeze pumpkin puree in quantities of 1½ cups in (reusable silicone) freezer bags.

Tips


How to Store and Freeze
In the Fridge
Store your homemade roasted pumpkin puree, well sealed in a mason jar or other airtight container, in the fridge for up to 5 days.
In the Freezer
I like to freeze pumpkin puree in reusable silicone freezer bags (or regular freezer bags), and remove as much air as possible. That way, it keeps well for several months (I’ve used it for up to a year, and it was perfectly fine).
To Thaw
Fill a large bowl with hot (not boiling) water and immerse your pumpkin puree, freezer bag and all, for 10 minutes.
Recipe FAQs
If you make this roasted Pumpkin Puree…
I’d love to hear how it turned out! What’s your favorite pumpkin recipe to use it in?

Easy Roasted Pumpkin Puree

Equipment
- food processor or powerful (immersion) blender
- cheesecloth or clean tea towel (optional)
Ingredients
- 1 large or 2-3 small pumpkins - choose organic if you plan to use the skin
Instructions
- Preheat oven to 200°C (400°F). If the peel is edible, scrub it well before roasting. Cut pumpkin(s) down the middle. Scrape out all of the seeds and stringy bits.
- Place cut side down on a baking sheet, lined with baking paper. Bake for 30-50 minutes, or until you can easily pierce the pumpkin with a knife. Set aside until cool enough to touch.
- Transfer the roasted pumpkin pieces to a food processor or powerful blender. Blend until completely smooth, and no bits of pumpkin remain.
- Set a fine mesh sieve over a bowl and scoop in the pumpkin puree. Let it drain for at least 2 hours or wrap the bowl and sieve in plastic wrap and drain overnight in the fridge.
- Freeze pumpkin puree in quantities of 1½ cups in (reusable silicone) freezer bags.
Notes
- Use homemade pumpkin puree in any recipe that calls for canned pumpkin puree.
- Drain the strained liquids every 30—60 minutes, so you can gauge how much liquid is still straining.
- Collect the drained liquid, and use it in other recipes. There’s a lot of flavor there.
- Fill freezer bags with 1½ cups puree, plus one or two tablespoons extra, and make sure to label them.
- Pumpkin puree keeps, well sealed, in the fridge for up to a week, or several months, up to a year, in the freezer.


